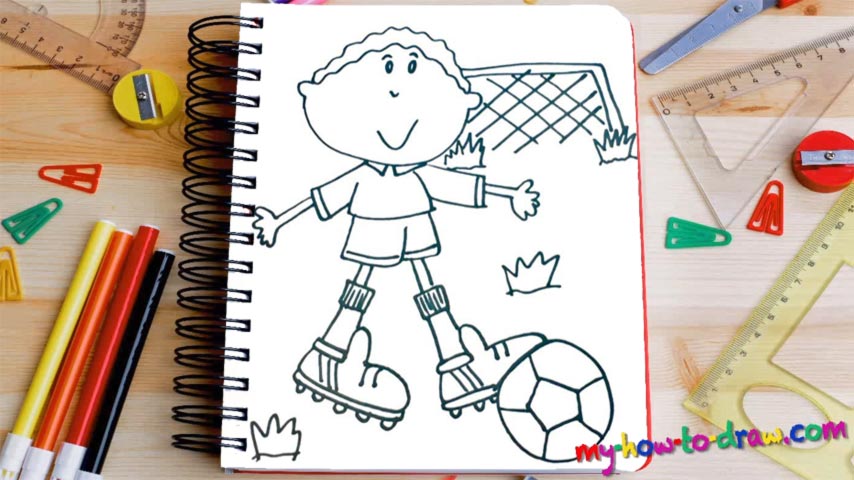
Learn How To Draw A Child Playing Soccer Quickly
Let us start with the fella’s head that looks like a pot (00 min 14 sec). The short haircut on top is covered in zigzags. The facial features, the next step in this how to draw A Child Playing Soccer video guide, are very simple. You’ll need 2 circles for the eyes and 2 basic curves for the nose and the mouth. By the way, the mouth looks like a V-sign.
He’s got a regular football outfit on, with a t-shirt and shorts. The hands look like they’re about to hug somebody (01 min 14 sec). They both have five fingers, but, again, they are not really very detailed, which makes our job easier. Once you’re done with the shorts, move on to the legs (01 min 37 sec). The fancy sneakers are up next.
They are identical to each other and come with strong “spikes” at the bottom and long socks. The boy is holding the ball with his right foot (02 min 37 sec). The gate (aka the goal) is the final step in this how to draw A Child Playing Soccer tutorial (03 min 15 sec). It’s just a box with a “hashtag” inside. And don’t forget about the grass (03 min 45 sec)!
Before you learn how to draw A Child Playing Soccer, did you know?
It’s a known fact that soccer is the most popular sports in the world. Hundreds of millions of people play it in their backyards, and even more fans support their clubs and national teams in the tournaments. This young fella seems to be very serious about it and likes to practice on his own. Who knows, maybe one day, he’ll become the new big star on the horizon?
Overall, there are 250 million soccer players on planet Earth, and it’s known and loved in 200 countries. The rules are simple: teams of 11, including the goalkeepers, compete with each other on a large field. The goal is to score as many times as possible. Hands are not allowed, but every other part of the body (like the head) can and constantly is used during the game.