Learn How To Draw A Cheese Quickly
The front half of this drawing looks like an open book. Start with the line in the middle (00 min 07 sec). Then, add two identical lines that look like the reversed letter “V” (00 min 14 sec). Once that’s done, create two curves on both sides to complete the “pages” (00 min 25 sec). Alright, the intro to this how to draw a Cheese tutorial is done.
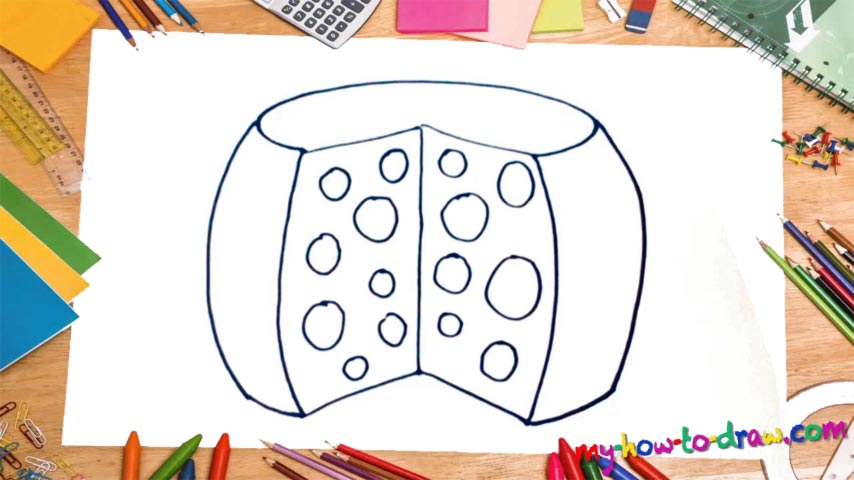
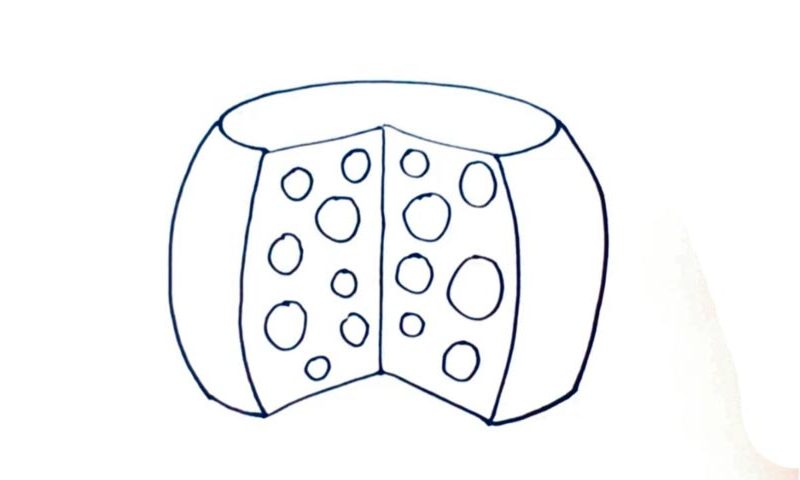
What you should do next is put two half-circles in the top left and right corners just like I did in the video (00 min 35 sec). Connect them to each other to finish the upper half of the drawing. Remember: this composition is in 3D. That is exactly why we need two more sets of line on the sides. It’s simple, really. The whole thing looks like a pumpkin now, doesn’t it?
The last step in this how to draw a Cheese tutorial is straightforward. Just create a series of circles of different sizes and put them on the front “pages” (00 min 55 sec). Don’t try to make it a 100% match with my example. But do make sure the whole thing is covered in dots.
Before you learn how to draw A Cheese, did you know?
Who doesn’t like cheese, right? This is one of those ingredients that find their place in pretty much every single common meal. There’s a huge range of textures, shapes, flavors, and carb/protein/fat combinations available on the market these days. Cheese is derived from milk and is considered to be a healthy food. At the same time, it’s calorie-rich.
The greatest thing about cheese is that you can keep it around for a long time and it will maintain all of its original qualities. Plus, it’s easier to carry around. But do keep in mind that soft cheese is very “fragile” and should be consumed within 3-5 days after you open it. Oven-baked types usually lost longer and you won’t have to worry that much about the “expiration date”.