Learn How to draw A Cat Quickly & Easily!
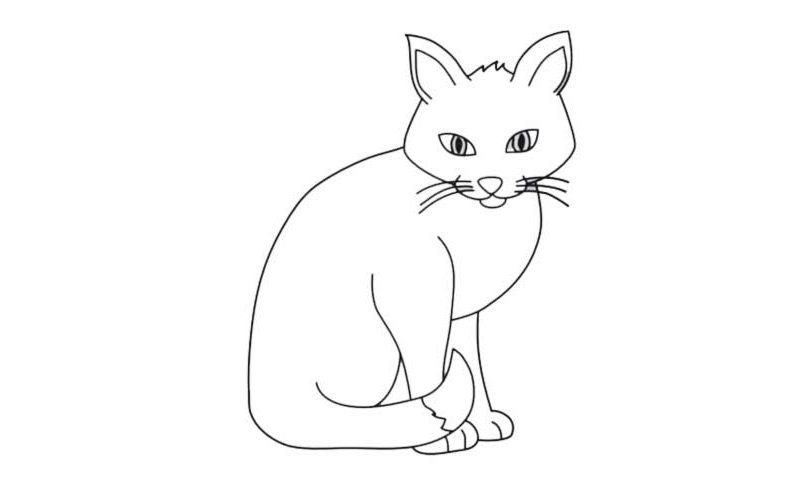
We know you’re eager to get to the actual drawing, but before you do that, make sure everything is ready. Place your paper horizontally just like I did, use only dark strokes, and make sure you’ve got an hour or two to spend on this. Ok, now we begin our how to draw a Cat tutorial! The nose, the mouth, and the lower jaw are all connected to each other (00 min 29 sec).
Overall, you’ll need four simple curves to complete this stage. The identical eyes come next (00 min 45 sec). If you’re happy with what you’ve got so far, move to the top corner of the paper and add the ears (01 min 20 sec). That fluffy line between them will “glue” the ears to each other. Next, use two identical curves to complete the animal’s head (01 min 38 sec). The whiskers are just a number of simple lines on both sides of the nose.
Before you move on to the body, the final stage of our how to draw a Cat tutorial, finish the ears (01 min 55 sec). All you’ll need at this stage is two pointy shapes. The first one is pretty big and covers the back and the tail. If everything looks good, add the left leg (02 min 21 sec). It might seem like it’s too big in the video, but once you move on to the right one, the drawing will start to look great. Ok, that’s pretty much it!
Before you learn how to draw A Cat, did you know?
We’re not sure whether it’s the fact that they are tiny and defenseless or if it has something to do with their strong personalities, but cats are big-time celebrities these days. Along with puppies, they are the champions of the social media, and the trend doesn’t seem to be slowing down.
If you don’t own one, this crazy situation might look ridiculous to you. At the same time, if there’s a cute pet running around in your house, then this phenomenon needs no explanation. Use this tutorial and learn how to draw a kitty for your collection!
