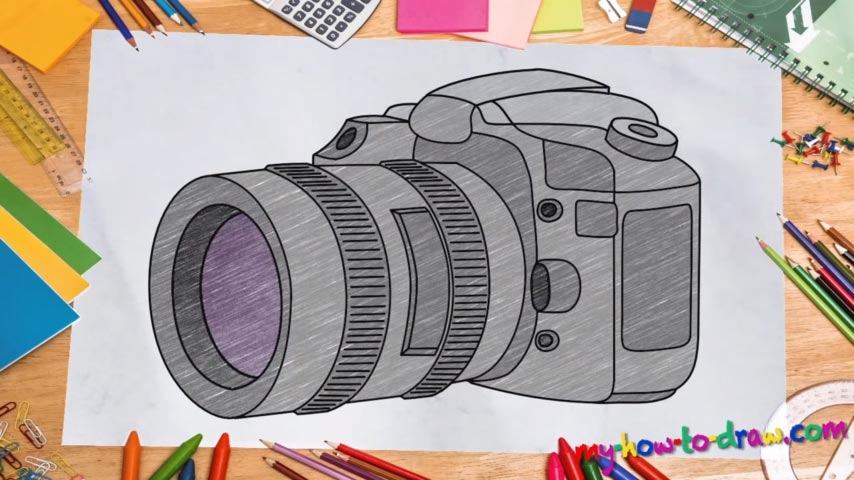
Learn How to draw A Camera Quickly & Easily!
We usually deal with people and animals (and robots) on this website, which is why this how to draw a Camera tutorial should be all kinds of fun. The most difficult thing about this composition – to keep all the proportions right and make sure the final drawing looks three-dimensional. Start your rough sketch with a square just like you see in my example in the video (00 min 23 sec).
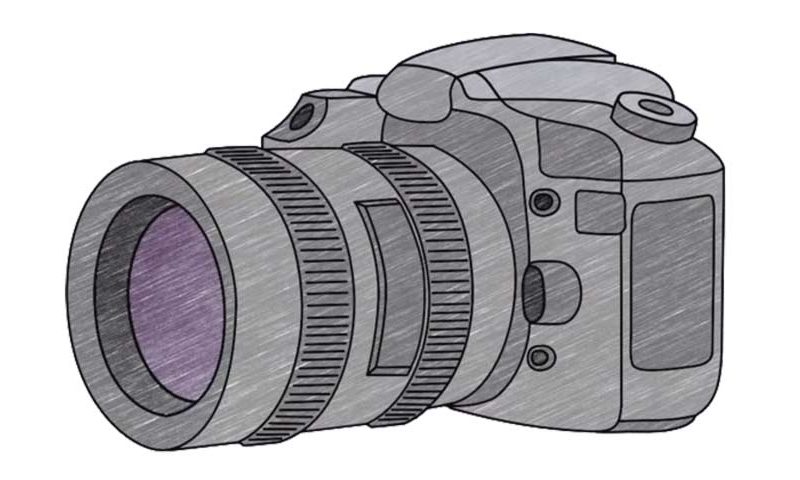
Next, go ahead and make it 3D with a couple of straight lines. And, once you’re done with the camera’s “body”, move to the front where the lens is (01 min 01 sec). Basically, it’s just a circle in the left corner of the paper that’s connected to the rest of the camera. Switch to darker strokes and go over that circle once again, making sure the new one is nice and smooth (01 min 23 sec).
Keep adding more details to it until you’re right back to the body. The final step of our how to draw a Camera tutorial are all the buttons, the switches and the knobs (02 min 52 sec). Keep in mind that even though there are a lot of guiding lines here and they’ll help with all the curves, you’ll still need to create new ones (04 min 39 sec).
Once everything is ready, you can just go ahead and get rid of the rough sketch (05 min 43 sec). As for the colors, a nice combination of dark and light grey will take care of most of the drawing. Use black for the knobs and stuff and pink for the lens. That’s it!
Before you learn how to draw A Camera, did you know?
When the first cameras were introduced to the world, mankind was amazed by the enormous opportunities they brought. In the modern-day world, we’ve even the cheapest phones are capable of making hi-res photos and videos, but back in a day, these “magical devices” used to cost a fortune!