Learn How To Draw A Cactus Quickly
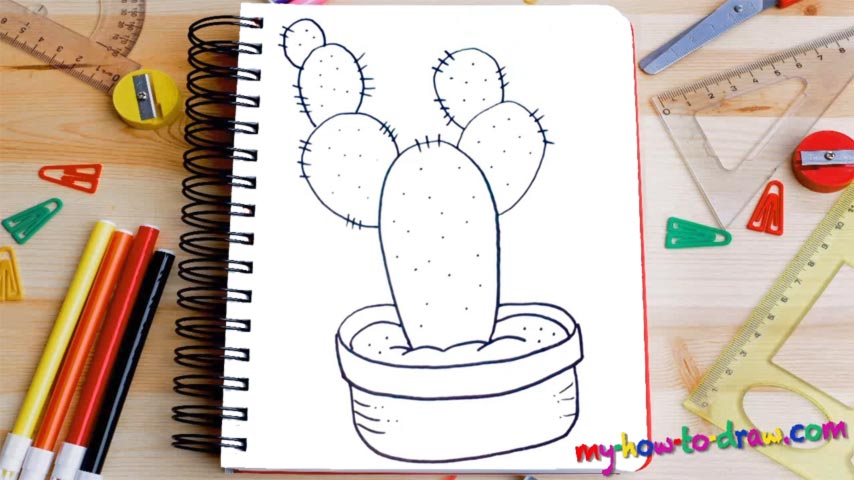
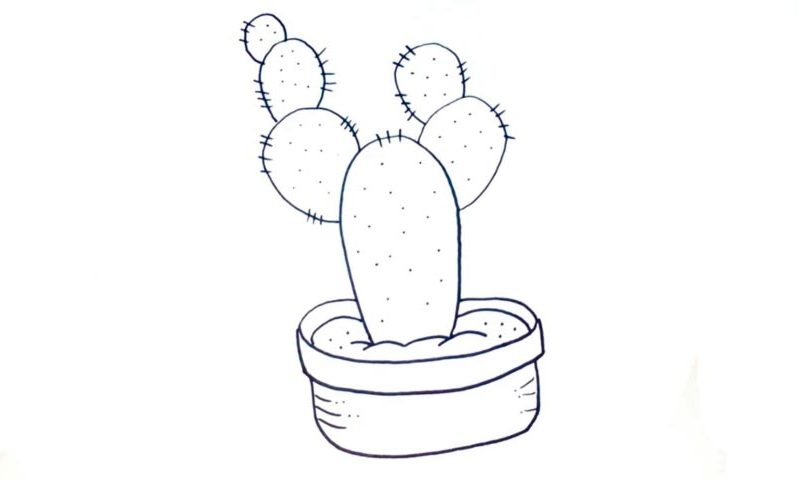
The main body of this sturdy plant sits in the lower corner of the paper (00 min 07 sec). It has an oval-like shape that resembles a melon. Once it’s in place, move on to the next step of this how to draw a Cactus tutorial – the right “hand” (00 min 20 sec). It consists of two similar parts that sit on top of each other. The left “hand” comes with three blocks (00 min 30 sec).
As you can see, there’s nothing hard about this lesson. However, make sure you get the proportions right because that’s very important. The pot follows (00 min 42 sec). It’s pretty standard but looks more like a bag. For the sand, use a series of basic curves. The pot sits at the very bottom and holds it all together.
The “spikes”, or, rather, the spines, are meant to protect the plant from the animals that want to eat it. They are the last stage of this how to draw a Cactus tutorial (01 min 26 sec). Short lines – that’s all you’ll need for them. And don’t forget about those dots all over!
Before you learn how to draw A Cactus, did you know?
What do you know about this plant? Not much, I suppose. People really like to put it on their desktops for luck. Cactus belongs to a huge family called Cactaceae that consists of 1750 species! Just take a minute to appreciate that number and let’s move on. There are numerous shapes and sizes available on planet Earth, and they all carry a certain value.
Generally, cactuses can be found in the driest spots in the world. That’s right: not only do they survive but also prosper in places where the rest of the plants would simply fade because of the drought. For that exact reason, they require almost no attention and care from you. A cactus will be a great gift for a friend/family member if they love these kinds of things.