Learn How To Draw A Beautiful Elephant Quickly
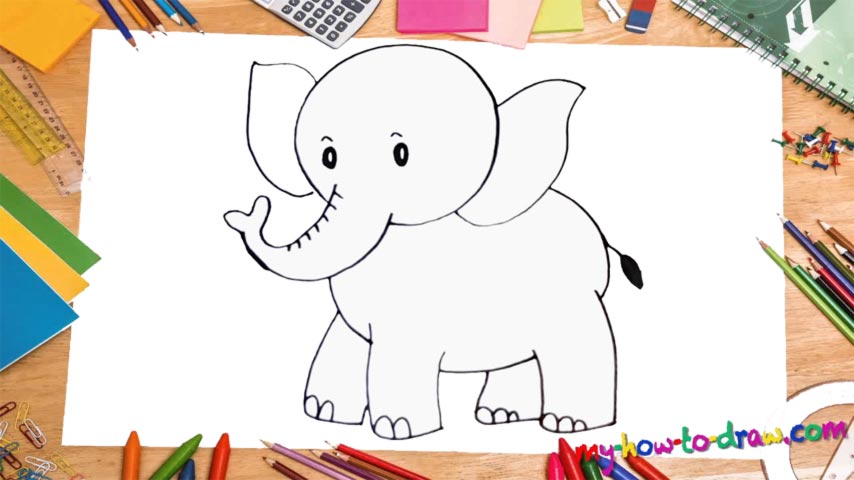
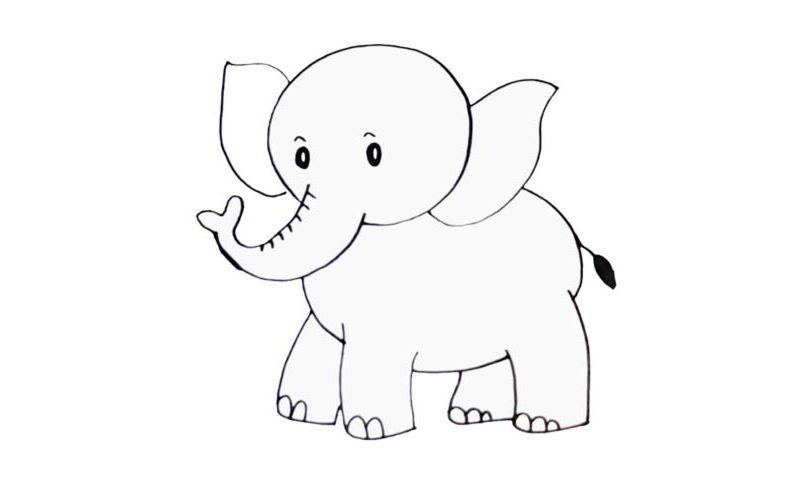
The animal’s head is like a medium-sized circle (00 min 06 sec). But you should leave some space in the lower left corner for the trunk (00 min 18 sec). It looks a bit like some sort of fish – with the fins and everything. The ears sit on both sides of the head and are identical to each other (00 min 35 sec). Make sure they are nice and big.
The next step in this how to draw a Beautiful Elephant tutorial are the tiny eyes with cute brows (00 min 49 sec). Color them black with white spots in the center. Alright, the head is in place. Now it’s time to take care of the body (01 min 02 sec). You’ll need two vertical curves for the rear right leg. The remaining three look very similar.
The ones in the back come with two thumbs; the ones in the front have only two (01 min 33 sec). Connect them to each other and to the trunk with simple curves. To complete this how to draw a Beautiful Elephant tutorial, move to the right side and add the cute short tail (01 min 47 sec).
Before you learn how to draw A Beautiful Elephant, did you know?
Elephants are one of the biggest animals on planet Earth. They are quite amazing and use those long trunks to grab their food, drink some water, and even fight off the enemies. Elephants are “family” creatures and stick around with the little ones for a very long time, as opposed to most predators that prefer to leave the youngsters as soon as they are born.
Furthermore, they even join forces with other families to socialize and to strengthen their ranks. The tusks are quite sharp and can poke through even the fiercest animals, including the lions, the tigers, and the crocodiles. As for the big ear flaps, they help the elephants control the fragile temperature of their bodies. These mammals are among the smartest creatures to ever walk the Earth.

