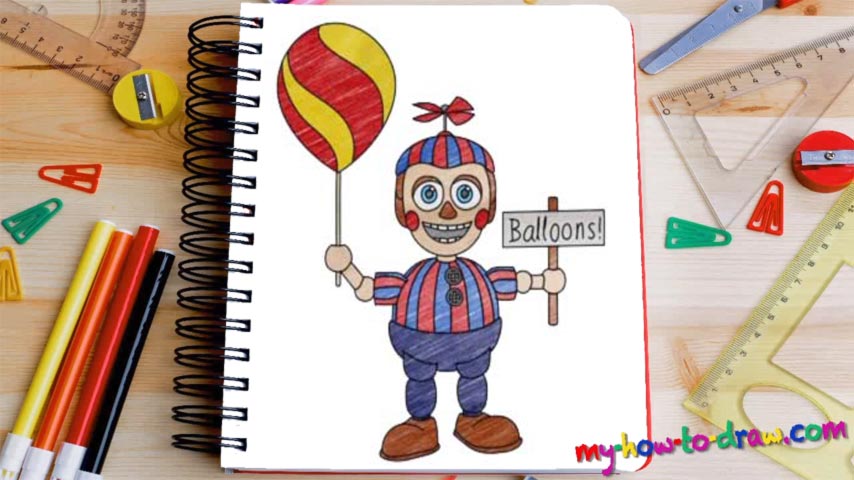
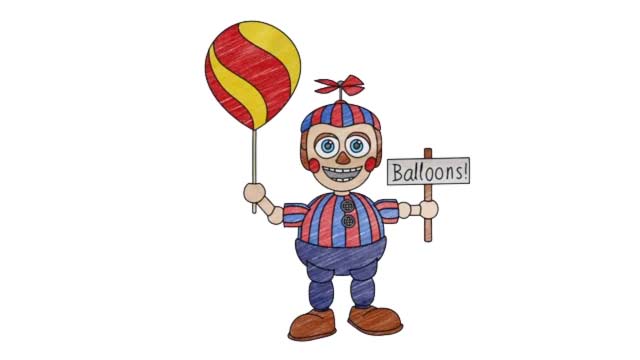
Learn How to draw Balloon Boy FNAF Quickly & Easily!
We’ll need two circles for this tutorial. They sit on top of each other and the one at the bottom should be a little bit bigger (00 min 22 sec). Once those two are in, move on and add the legs (00 min 38 sec). Four simple shapes are all you’ll need for that. The hands are the final stage of the intro to our how to draw Balloon Boy FNAF tutorial. The right one is made up of one rectangular shape. The left one consists of two.
The real work starts when we switch to darker strokes and begin working with the eyes (01 min 04 sec). As always, they are 100% identical. The nose and the mouth are very simple and you’ll be done with them in a matter of seconds (01 min 40 sec). Don’t forget about those red cheeks! The funny hat with a propeller on top of it comes next (02 min 18 sec).
This is the most fun part of the how to draw Balloon Boy FNAF tutorial. All good? Then let’s jump back to the mouth and add a number of teeth (03 min 21 sec). The boy has two buttons on his shirt – handle those next (03 min 50 sec). The hands, the toughest part of this guide, should be treated respectfully (04 min 20 sec). The shoulders come first; then, draw the right hand.
If you follow the video closely, you’ll see that it’s actually not that hard to create a realistic hand holding something, especially if the boy is not human. Same goes for the left one (05 min 43 sec). The only difference is – it’s holding a big, bright balloon instead of a sign with writing. Practice your skills and finish this manual!
Before you learn how to draw Balloon Boy FNAF, did you know?
Do you know who this boy is? Also known as BB, he’s one of the bad guys – an animatronic in FNAF. Those colored cheeks, big blue eyes, and balloon in his hand turn this character into one of the creepiest ones in the game.

