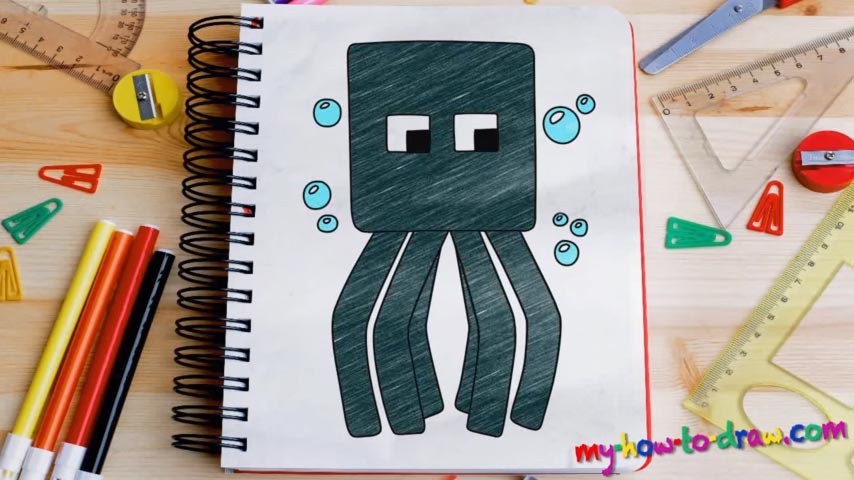
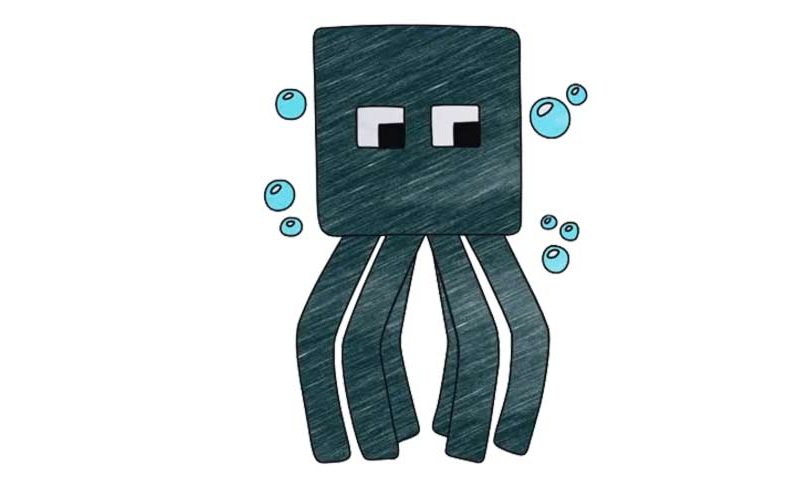
Learn How to draw The Squid – Minecraft Quickly & Easily!
It’s safe to say that this is a perfect drawing for a beginner. Just take a long, hard look at it: you’ll probably pull it off without any help from our side, right? Still, let’s go through this how to draw the Squid tutorial and do everything by the book. That means you’ll have to put some rough guides in using light strokes.
Don’t worry if you can’t get the shapes right from the start. Go over them a couple of times by using the multi-strokes technique. That square in the top corner is the head (00 min 34 sec). After you divide it with those two straight lines, it will start to look like a window. As for the legs, they consist of multiple similar-looking lines (00 min 55 sec).
Once you’re done with all that, move on to the next part of this how to draw the Squid tutorial – the dark strokes. We recommend starting with the eyes, but you can go with whatever your heart desires (01 min 46 sec). If you’re happy with the identical eyes, move on to the head (02 min 19 sec).
All you’ll have to do is follow the rough square we made in the beginning but make the lines straighter and smoother. The legs are the final part of our how to draw the Squid tutorial (02 min 34 sec). There’s nothing hard about them – just “hug” the guidelines and finish this wonderful drawing. Wait, don’t forget about those bubbles (03 min 24 sec)!
Before you learn how to draw The Squid – Minecraft, did you know?
This thoughtful (or, rather, brooding) individual is one of the characters of this insanely-popular video game. These creatures usually hang around in the water and don’t attack the players on the ground. In fact, they are not aggressive and won’t hit you unless you come at them first.

