Learn How to draw Princess Belle Quickly & Easily!
Before we start, I just want to say that you shouldn’t be intimidated by this drawing, because the truth is – it’s pretty easy. If you carefully follow the guidelines in this how to draw Princess Belle tutorial, I guarantee you’ll achieve solid results in no time. With that said, let’s take care of our rough sketch first.
That circle in the middle of the composition is, of course, the girl’s head (00 min 37sec). The standard dividing lines come next and create just the right guides for the facial features. The rest of the curvy shapes and lines have to do with the hair (01 min 12 sec). Don’t forget about the neck at the very end (01 min 52 sec). All done with that?
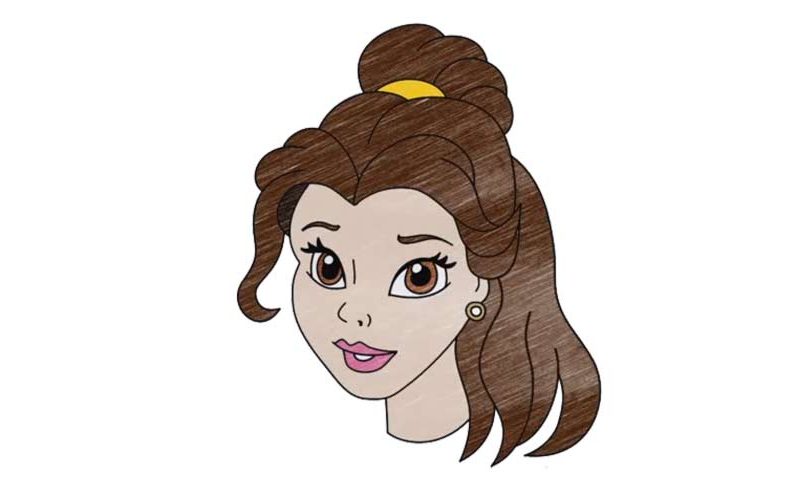
Good, now let’s learn how to draw Princess Belle! We start with the right eye (02 min 26 sec). Place it on top of the horizontal line we did a minute ago. It should be big, bright, and beautiful, just like our heroine. The second eye is identical; at the same time, it’s a bit “narrower” because of the angle of this drawing.
The eyelashes are easy. The nose is minimalistic and is essentially comprised of four curvy lines (04 min 24 sec). As for the mouth, make sure the lower lip is fuller than the upper one. After that, use the guiding lines to draw the head (05 min 00 sec).
The final part of our how to draw Princess Belle tutorial is all about her gorgeous hair (05 min 49 sec). I won’t get into much detail here because it’s all quite intuitive. Make the curves nice and smooth.
Before you learn how to draw Princess Belle, did you know?
She’s a noble girl with a big, loving, caring heart. As the main character of one of the most famous fairytales in history – Beauty and the Beast – she’s an iconic character and will look great in your portfolio. Smart, beautiful and adventurous, Belle hops on the greatest adventure of her life without even giving it a second thought.