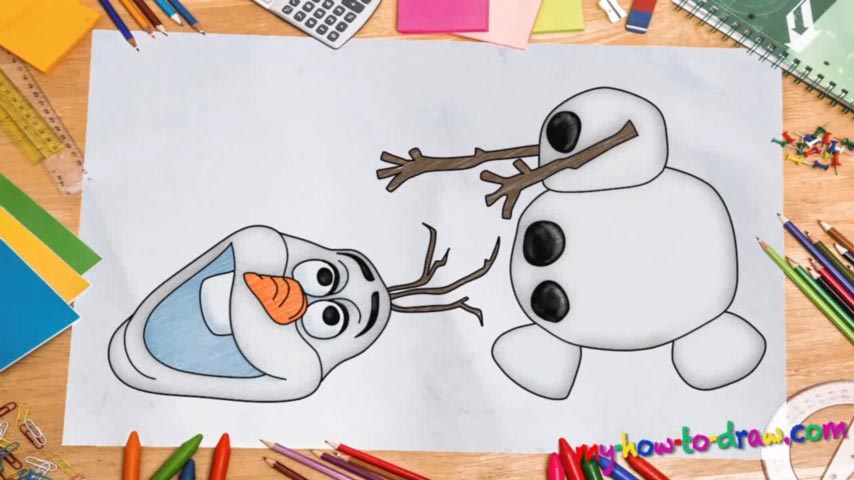
Learn How to draw Olaf From Frozen Headless Quickly & Easily!
At first, it might seem like this is a sophisticated drawing, but it’s really not. True, some parts may take several tries before you get them right, but overall, this is a simple composition. We begin this how to draw Olaf from Frozen headless tutorial with a rough sketch – the tiny circle in the top right corner, to be exact (00 min 37 sec). The second one right below it is much bigger and partially overlaps it.
And we’ve got two more at the very bottom representing the legs (00 min 52 sec). Once you’re done with those, draw a series of shapes for the torso and the future hands (01 min 10 sec). Finally, move to the left corner and put some guiding lines and circles in for the fallen head (01 min 47 sec). Ok, now off to the main part of this how to draw Olaf from Frozen headless tutorial.
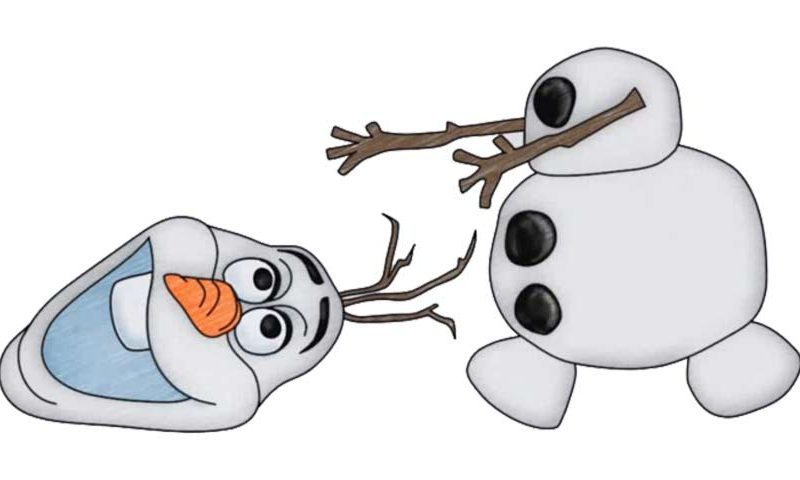
Use a marker or dark strokes for the nose (yes, we’re starting with the head) (02 min 49 sec). It’s actually a carrot, but there’s nothing hard about that. The eyes come next (03 min 08 sec). If the eyebrows are done, move on to the mouth (04 min 27 sec). It’s pretty big and might even scare you a bit with that one tooth :). As for the rest of the body, you should get to the hands – the branches – first (05 min 57 sec).
They’re practically identical with minor differences. As you could already imagine, the body consists of basic shapes and repeats the rough sketch we made in the beginning on this how to draw Olaf from Frozen headless guide (07 min 10 sec). Those “buttons” give it the right look (07 min 19 sec). After you finish with the legs, get rid of the guidelines and color the character using the same colors as I did.
Before you learn how to draw Olaf From Frozen Headless, did you know?
Frozen is one of the most popular animated movies of our time, and this adorable character is probably stuck in your mind. He’s a brisk, engaging, happy snowman with an attitude that allows him to survive even in the most hostile environments.