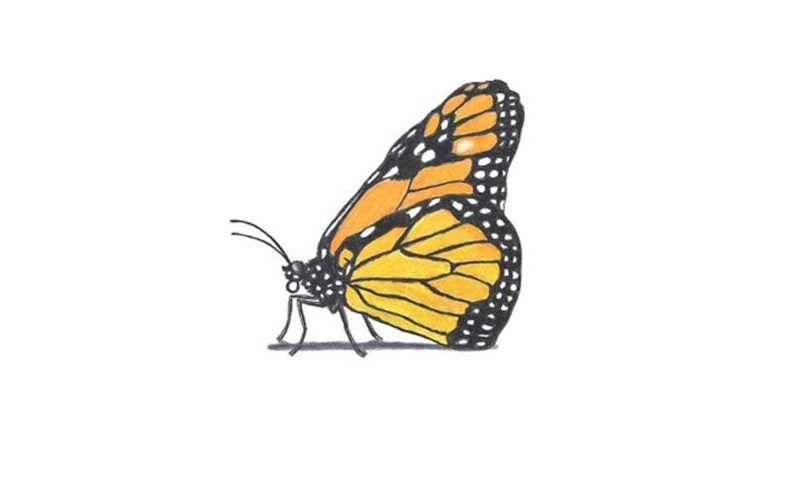
Learn How To Draw A Monarch Butterfly Quickly & Easily
In order to get everything right, it would be best to create a simplified image of the butterfly with some guidelines and only then get to the detailed drawing. The left wing comes first (00 min 06 sec). It should look a lot like a guitar pick. The second one is a bit taller and sits right above it.
The head is a tiny circle (00 min 14 sec). Once you connect it to the wings, the intro to the how to draw A Monarch Butterfly will be done. Add the legs next (00 min 17 sec). The “antennas” should be pretty long and grow from the center of the head. If you’re happy with everything so far, let us move to the right and work on the texture of the wings (00 min 25 sec).
It is very beautiful but won’t be hard to copy. To complete the how to draw A Monarch Butterfly lesson, go back to the legs and make them a bit bigger and stronger (00 min 47 sec). Please don’t forget: it has 4 legs, not 2! Alright, that’s it. Finally, get rid of the guiding lines (01 min 08 sec). If you want, add even more dots to the original texture.
Before you learn how to draw A Monarch Butterfly, did you know?
There are numerous species of butterflies on planet Earth, but the so-called Monarchs are definitely among the most popular ones. In some places, they call them common tigers. In North America, they have an iconic status because of the numerous movies, shows, and other mass media appearing.
That black-orange-white pattern is known to pretty much every human being in the world. During early autumn, Monarchs leave the colder parts of the US and Canada and move to the warmer states like Florida. In this journey, they easily cover thousands of miles. These butterflies even visited the IIS once (with the help of international astronauts, of course).

