Learn How To Draw A Pigeon Quickly & Easily
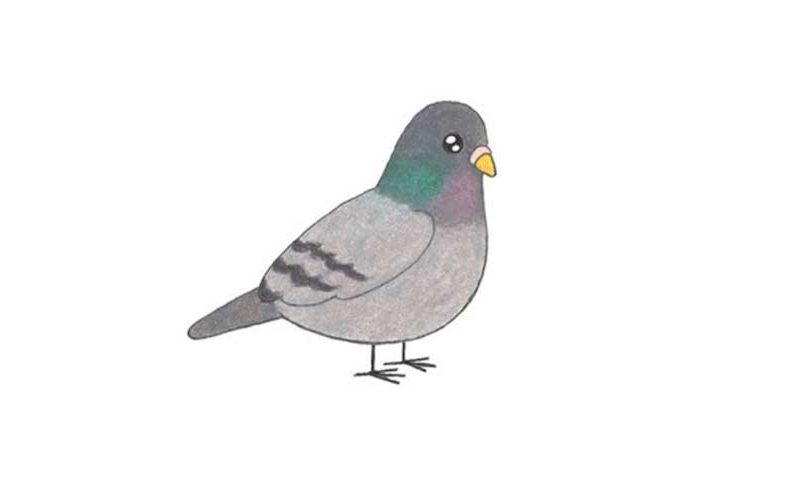
In this tutorial, we’ll start by creating a tiny circle for the eye (00 min 08 sec). Don’t forget to leave two tiny white spots inside for the glare. For the beak, the next step in this how to draw A Pigeon lesson, use a rather small triangle (00 min 33 sec). Split it into two parts to make it look like a carrot.
Alright, now we move on to the bird’s head (00 min 55 sec). For the left wing, you’ll need a pretty big and wide curved line (01 min 27 sec). For the body, you’ll need a curved line of similar length that starts at the right corner of the neck and goes below the wing (01 min 50 sec). The tail is probably the easiest part of this how to draw A Pigeon tutorial (02 min 07 sec).
The feet follow (02 min 16 sec). Make sure they’re pretty short and skinny. Each leg has three toes. Alright, now grab your favorite marker and go over the guidelines (02 min 46 sec). Finally, use an eraser to get rid of the guides (03 min 03 sec). Looks pretty awesome, doesn’t it?
Before you learn how to draw A Pigeon, did you know?
These birds are so common that we don’t even pay attention to them anymore. Pigeons belong to a family that includes 310 species. Various fruits, plants, and seeds make up their daily diet (but they’ll also eat whatever you give them). As we just said, this is the most popular bird family on planet Earth and you’ll see one in the air no matter where you go.
Another interesting fact: pigeons are considered to be extremely smart. They build their nests using sticks and other debris, which isn’t often the case among birds. Both parents care for the newly-born birdies and stay with them until the day they leave (it usually takes from 1 to 4 weeks).
