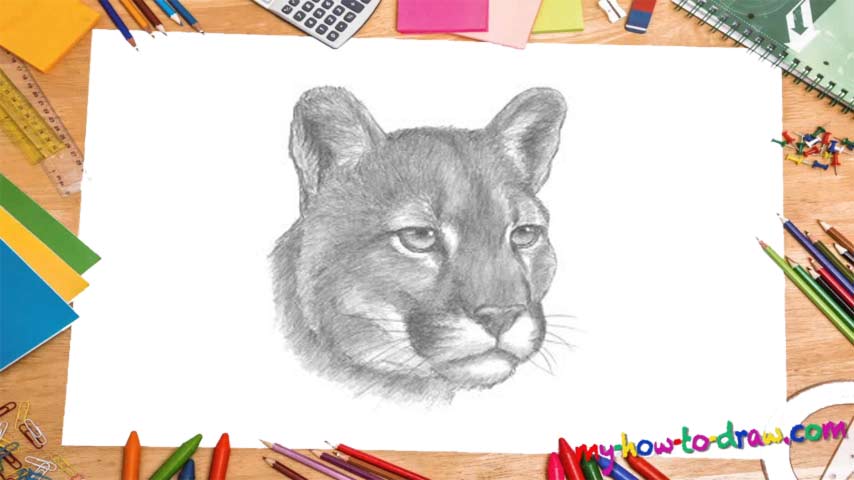
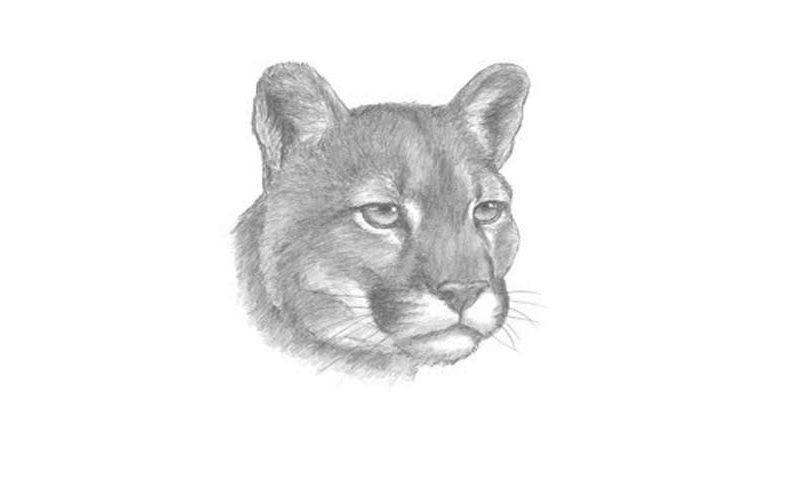
Learn How To Draw A Cougar Quickly & Easily
The guides for this one make it look like an astronaut’s helmet, but that’s totally Ok (00 min 07 sec). Once the circle is done, move on to the guiding lines. Make sure to get the angle right. The next step in this how to draw A Cougar tutorial is the much smaller circle at the bottom (00 min 14 sec).
For the ears, you’ll need two simple half-ovals (00 min 18 sec). Alright, the guides are pretty much done. Now we move on to the actual drawing (00 min 23 sec). In order for the eyes to look realistic, make them nice and big. They resemble two tiny cups a bit. Add two circles inside and color them black and white respectively.
The nose is pretty standard and will fit any feline creature on the planet (00 min 35 sec). The mouth sits right below it. For the mug, use fluffy lines (00 min 46 sec). To complete this how to draw A Cougar tutorial, follow my lead closely and shape the head (01 min 00 sec). Oh, and don’t forget to erase the guides before saying goodbye!
Before you learn how to draw A Cougar, did you know?
AKA the mountain lion and the puma, this highly dangerous predator is no fun to meet in the wilderness. It’s faster, stronger, and more aggressive than an average human being and has incredibly sharp and deadly teeth. You’ll find cougars in the Americas – that’s their native habitat. This is the biggest cat in the US.
Interesting fact: Cougars aren’t very “social” and prefer to travel the land and to hunt on their own. Plus, they are closely related to domestic cats than, say, to lions, which partially explains the similar habits. Cougars never attack openly: they prefer to stalk their prey, hiding on trees and/or behind big rocks.

