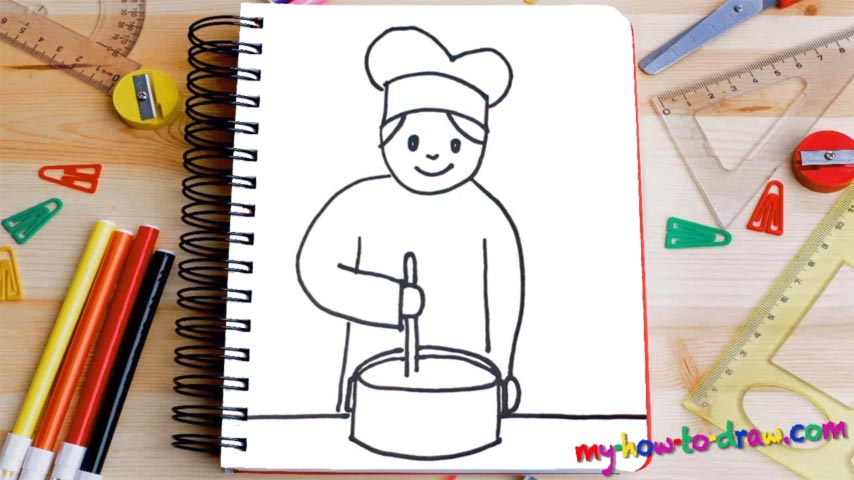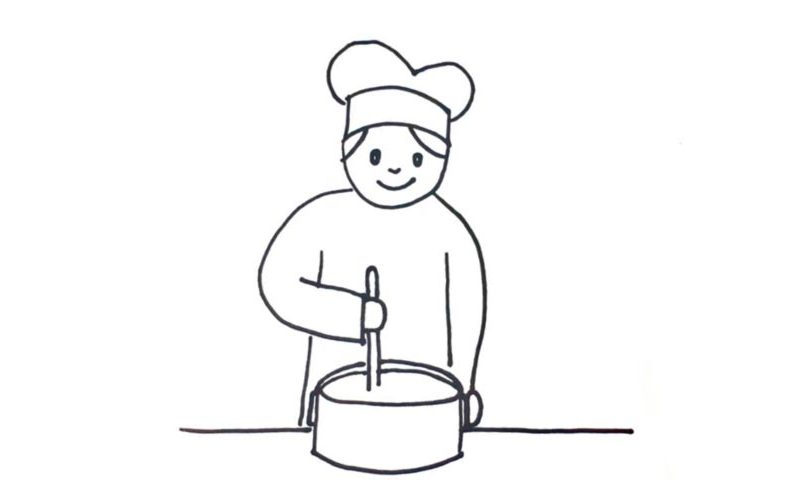
Learn How To Draw A Cook Quickly
Start with the shape of the head (00 min 08 sec). The classical hat sits right on top of it (00 min 20 sec). It consists of two parts – the foundation and the more “curvy” upper half. The facial features are the next step in this how to draw a Cook tutorial (00 min 34 sec). You’ll need tiny circles for the eyes and lines for the nose and the mouth.
Alright, now let’s move on to the body. Put the shoulders in first (00 min 52 sec). Then, get to the left hand that’s holding the huge spoon/stirrer. See those straight vertical lines on both sides (01 min 07 sec)? They are all you’ll need to complete the cook’s body. The fingers of the left hand come next (01 min 17 sec).
He’s using the spoon to stir the meal inside of that pot at the bottom (01 min 21 sec). It’s the final step in this how to draw a Cook tutorial. An oval, two half-circles, and simple lines – that’s all you’ll need for that. The table concludes this fine drawing (01 min 52 sec).
Before you learn how to draw A Cook, did you know?
Without a doubt, this is one of the most popular professions on the planet. Even when a nuclear war wipes out most of our kind, the cooks will still be in huge demand. Who doesn’t want to eat tasty food, right? Besides, these folks will be able to make something eatable out of almost nothing and/or find the necessary ingredients for a nutrient-heavy meal.
In the real world, the cooks have to study for years and spend a lot of time as “interns” before they can even dream about becoming chefs. This is a prestigious profession that pays a lot, but you’ll have to work up to 16 hours a day and can’t make a single mistake. The best restaurants will let you go after one tiny “glitch” in a dish. Keep that in mind!