Learn How To Draw A Tie Quickly
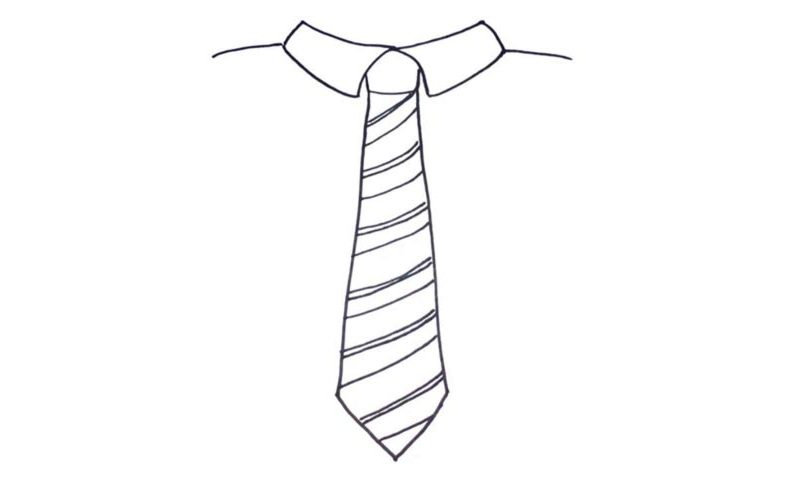
Let’s not waste any time and get right to our video lesson. As you can see, in this how to draw a Tie tutorial, the only other thing than, well, the tie, is the neck of the shirt. We’ll get to it first, as it will be much easier to get everything right with the drawing that way. So, begin in the upper corner of the paper and add the folds (00 min 15 sec).
That tiny shape between them is a part of the tie. All you’ll need to complete the upper half of this composition are two lines for the man’s shoulders (00 min 25 sec). Ok, now that it’s out of the way, we can move on to the tie itself (00 min 32 sec). Draw two identical vertical lines that almost reach the bottom of the paper and turn into a “triangle” at the tip. The shape looks a bit like a mighty sword.
The next step of this how to draw a Tie tutorial is, of course, the pattern (or, rather, the texture) (00 min 50 sec). It’s very consistent throughout and is made up of curvy lines on top of each other. Together, they form a classic tie from the 70s/80s. That’s actually it for today! Go ahead and try different textures for a different vibe.
Before you learn how to draw A Tie, did you know?
I bet the aliens always have a good laugh when they see men wear ties at the gala concerts and other important social events. What’s the point of putting it on? Sure, it looks good, especially in combination with an expensive suit and a good pair of shoes.
But what is its meaning? This peculiar piece of cloth serves a decorative purpose – that’s it. And in most offices around the globe, if you arrive at work without wearing one, you’ll probably be fined. Yep, the modern-day world is quite ridiculous sometimes, not to say crazy.

