Learn How To Draw A Water Drop Quickly
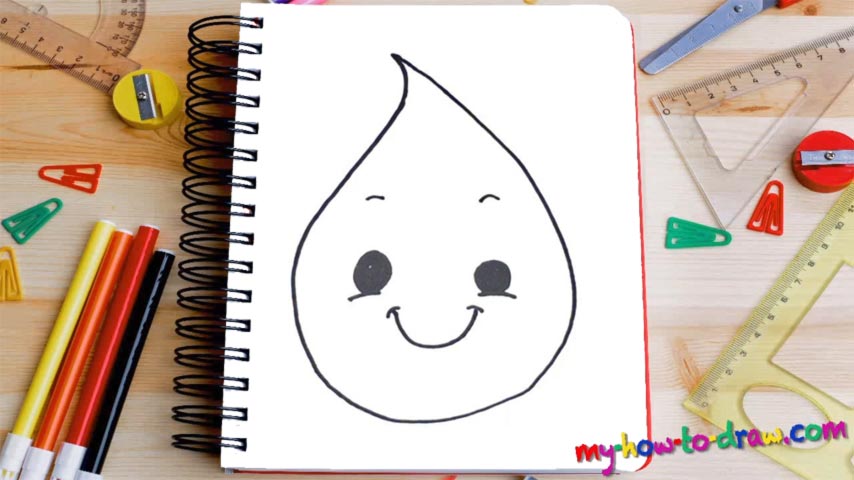
As you could’ve already guessed from the preview, we’re not going to work on a super-realistic image here. At the same time, the drawing in this how to draw a Water Drop tutorial is full of life and fun, which is the main goal for us on this website. The main body of the drop comes first (00 min 07 sec). From afar, it looks a lot like a medium-sized garlic clove, doesn’t it?
If you can’t seem to get the shape right with one take, try the multiple strokes approach and/or use a series of shorter lines to make things easier. Once it’s in place, you can switch your attention to the facial features that sit approximately in the middle of the “garlic” (00 min 32 sec). Take care of the right eye before moving to the left one. And leave tiny white spots in both of them for the pupils.
That cute mouth is the next step in this how to draw a Water Drop tutorial (01 min 02 sec). You’ll need three lines to complete it: a curvy one right below the eyes that looks like a reversed “C”, and two tiny “arrows” on both sides. The eyebrows are located really high and give the drawing certain cartoon vibes (01 min 08 sec). The circles below the eyes are the final step in this video guide.
Before you learn how to draw A Water Drop, did you know?
We don’t really pay much attention to it, but water is the main source of life on planet Earth. Without it, we simply wouldn’t exist. It feeds the trees, the grass, the animals, and the humans. Water is in the oceans, the rain, the snow, and even in our bodies (it’s a known fact that humans consist mainly of water – up to 70%).
As for this drop, it represents the very essence of life and what one tiny sip can do. Today, water is the only thing that can potentially allow the scientists to find other life forms in our Solar System. Could it be that we’re not alone out there?