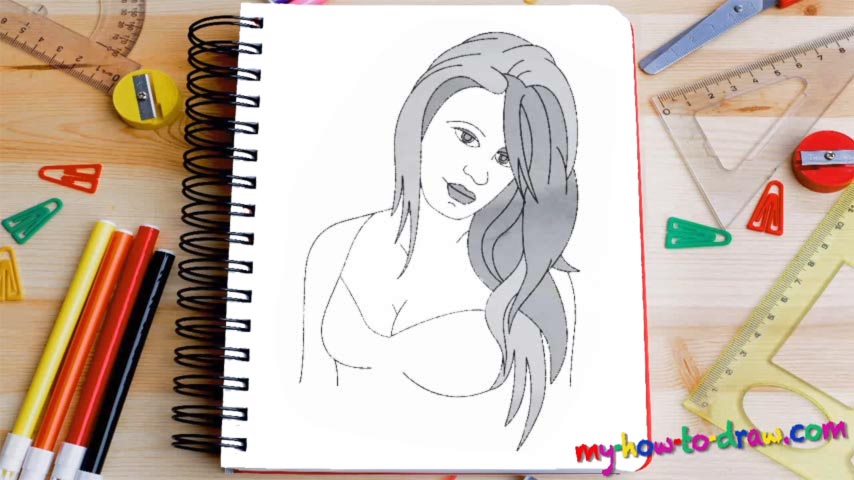
Learn How To Draw Women Quickly & Easily
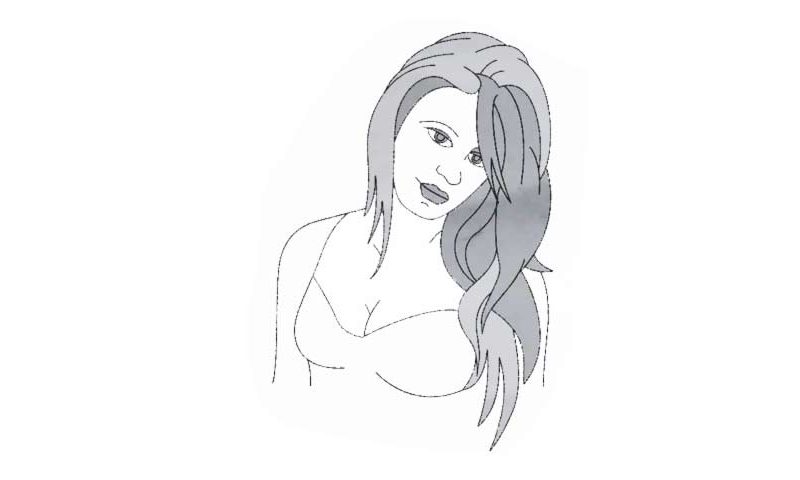
We begin at the very top of the paper with the hair (00 min 55 sec). Watch the video closely and make sure you’ve got everything right. That’s because if you mess something up at this point, it will be quite hard to fix it later. Once the basics for the hair are done, move on to the next step in this how to draw Women tutorial – the face (01 min 12 sec).
Use an oval shape that overlaps with the hair. Her head is tilted to the side a bit: keep that in mind while working on the facial features (01 min 23 sec). Put some basic lines in for the nose and the eyes (which are identical, by the way). Next, draw a simple horizontal line for the mouth (01 min 52 sec). And remember that the lower lip should be fuller than the upper one. Before moving on, create a tiny curve for the chin.
Ok, now we’re down to the last step in this how to draw Women tutorial – the lush hair (02 min 02 sec). Add a super-long line on the right that almost touches the bottom of the paper. That curve is there for the neck (02 min 14 sec). If you’re happy with the result, jump to the right side. There’s no point in describing every single move: let the video guide you. After you’re done with the hair, draw the left shoulder and add the bra (03 min 33 sec).
Before you learn how to draw Women, did you know?
Ever since the dawn of humanity, the image of a perfect woman has been chasing the artists from all over the world. It’s generally harder to draw the ladies than the fellas because they come with smoother curves and everything needs to be ideal in terms of the proportions.
Plus, you’ve got the hair that requires some advanced drawing skills. The greatest artists in history, including Michelangelo, were fascinated by women and spent countless hours perfecting the portraits. In this tutorial, you have a chance to line yourself up with these great men of art!