Learn How To Draw Wings Of Fire Dragons – Starflight Quickly & Easily!
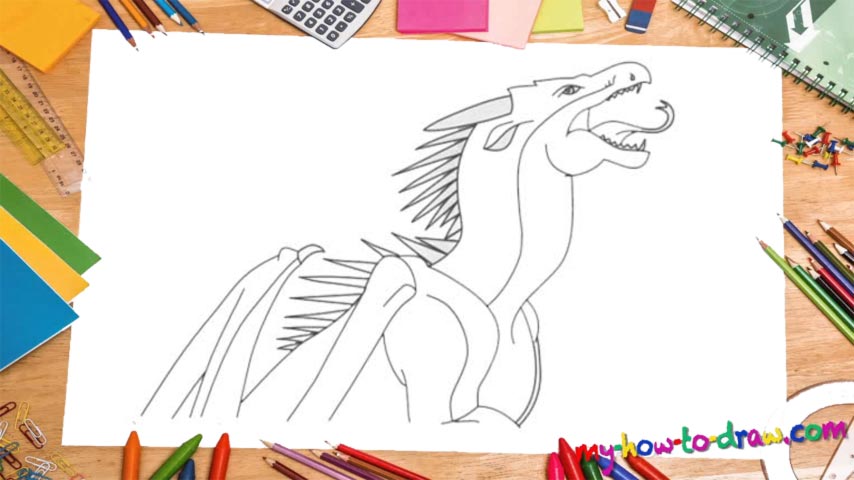
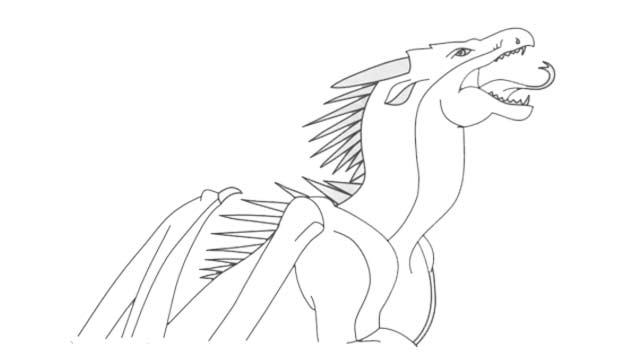
Don’t know where to start? Well, how about that eye in the top corner (00 min 28 sec)? Then, use a combination of two simple shapes for the jaws. Make sure they’re not super-straight and look realistic. The teeth and the tongue, one of the most important parts of this how to draw Wings Of Fire Dragons – Starflight tutorial, come next (01 min 08 sec).
The beast has two big teeth on the front; the rest of them are pretty tiny. As for the tongue, it’s fully out and looks quite scary. If you’re happy with everything, move a bit back and add the biggest spike (01 min 53 sec). Once it’s connected to the head, move on down to the body. You’ll need two curvy lines to form the mighty neck. Ok, now we get to the wing (02 min 30 sec). It consists mainly of straight lines; in the front, it looks like a “normal” arm.
The body is the easiest part of this how to draw Wings Of Fire Dragons – Starflight manual. The final stage is the spikes all over the beast’s back (03 min 20 sec). Follow the video closely and make sure they match in size to the ones in my drawing. This isn’t a critical thing, but the dragon result will look better if you do that. That’s actually it. Add those tiny details on the face and you’ll be done!
Before you learn how to draw Wings Of Fire Dragons – Starflight, did you know?
As the dragonet with the biggest brains among his kin, Starflight has to always be one step ahead of his enemies and find new ways to help the other dragons in the realm. Back when he wasn’t even born yet, his kind gave his egg to the Talons.
This beast grew up with them and learned everything he knows today while living side by side with other given/stolen dragon eggs. Now, even though Starflight has no special powers or any hidden talents, his exceptional mind makes wonders happen.