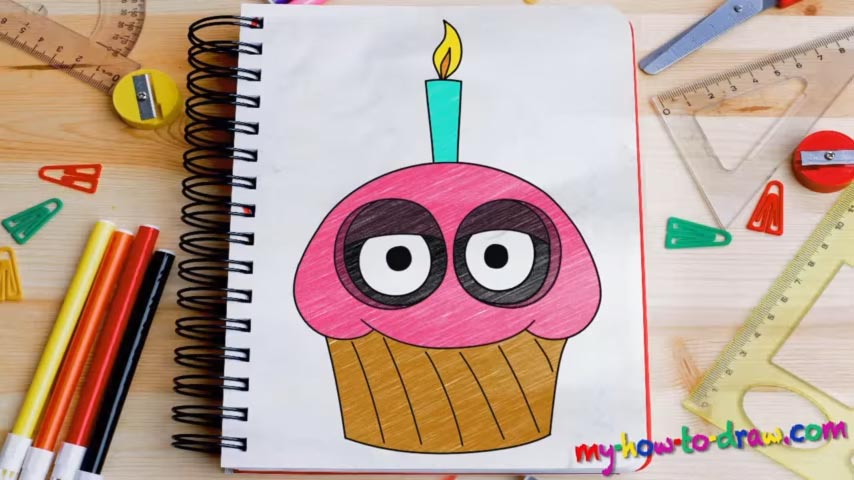
Learn How to draw The Cupcake From FNAF Quickly & Easily
This might seem like the simplest drawing in the world, and while it is, indeed, quite easy to create, you’ll still have to follow the instructions in the video in order to get everything right. We begin this how to draw the Cupcake from FNAF tutorial with a rough sketch that will guide us later (00 min 39 sec). Draw a horizontal line at the bottom of the paper and put another one on top of it to create something of a “dome”.
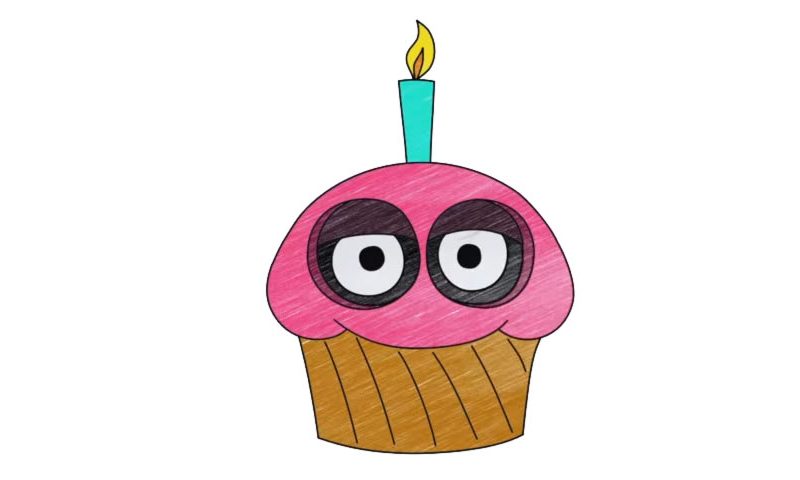
The rest is pretty straightforward: you’ll need two more curvy lines and three straight vertical ones. Once that’s all in place, you’ll be done with the intro. Now it’s time to move on to the real thing: the clean drawing. See those big, bright eyes? Get right to them (01 min 41 sec). We recommend handling the left one before moving on to the right eye.
Well, they’re actually identical, and you can start wherever you want. There’s nothing hard about these big, bright eyes; so, let’s take care of the next step of our how to draw the Cupcake from FNAF tutorial. The “body” of the cake comes next. The delicious part is pretty curvy (02 min 49 sec). It actually looks a lot like a cartoon cloud. The part at the bottom is a lot more straightforward.
Just draw two vertical lines and one curvy horizontal one at the bottom of the paper (03 min 06 sec). Actually, all you’ll have to do is go over the rough sketch. Finally, create several curvy lines like I did in the video. The last step is, of course, that candle on top of the cake (03 min 18 sec). After that, just erase the guidelines we made in the beginning and color the delicious thing.
Before you learn how to draw The Cupcake From FNAF, did you know?
Pies, cakes, and cupcakes are usually delicious, but not in this case. If you’re familiar with this video game, then you already know that the one from FNAF is everything but nice and friendly. It’s actually a spy tool and the animatronics use it to watch the players.