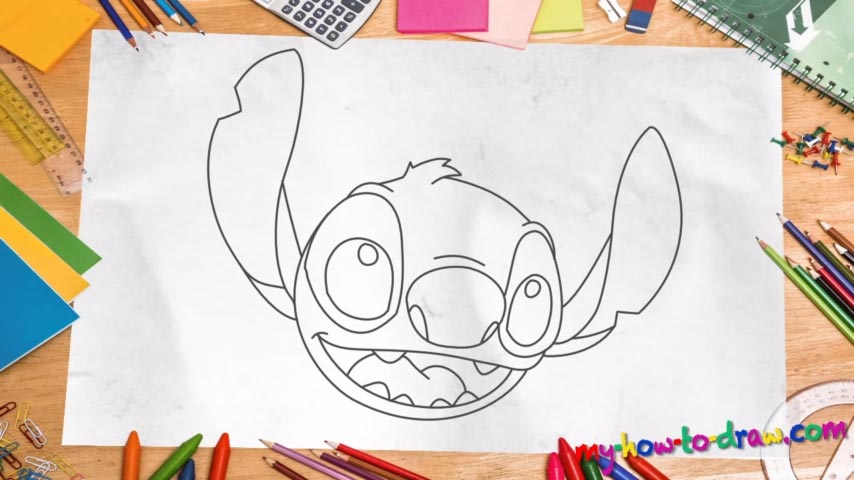
Learn How to draw Stitch Quickly & Easily!
We begin with the simplest part of this tutorial – the character’s nose (00 min 30 sec). It’s not a perfect circle, but pretty close to it. The eyes, on the other hand, are probably the most sophisticated part of the how to draw Stitch guide (00 min 54 sec). First of all, they’re not identical. Second, the left eye is significantly bigger than the right one.
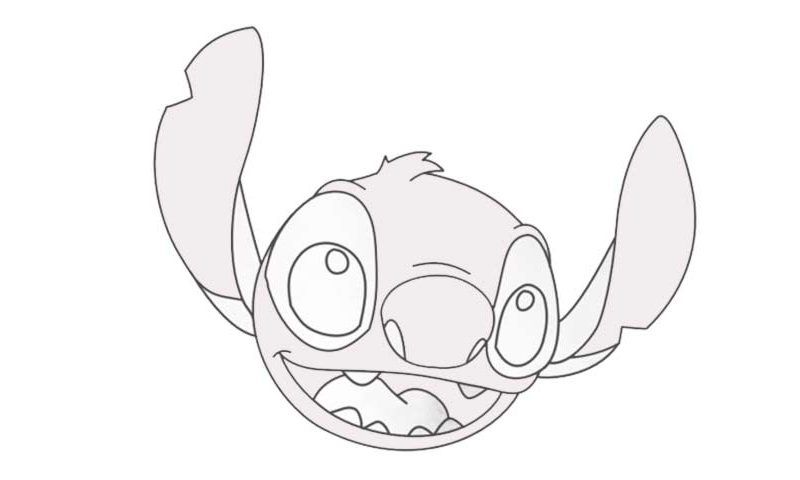
Keep those things in mind while drawing them and follow the video closely to make sense of it all. If you’re happy with the result, move on to the top of the composition and complete the brute’s head (02 min 02 sec). Make it a bit fluffy on the left side to accentuate the hair. The mouth is the next step (02 min 47 sec). First of all, create a simple outline. Second, add those teeth – you’ve got six in total (03 min 05 sec). The tongue follows.
Once the head is complete, move on to the next stage in this how to draw Stitch tutorial – the ears (04 min 05 sec). In contrast to the eyes, they look the same even though the left one might seem bigger because of the angle. They are also quite primitive and you’ll be done with them in a matter of minutes, if not seconds. Note: the ears are just as tall as the head.
Before you learn how to draw Stitch, did you know?
If you think that this artificially-made creature looks like a koala, you’re partially right, because he was designed after that animal. Stitch came to life thanks to an illegal experiment. At first, he was a sinister being with a very bad attitude. However, he eventually turned around.
Those big ears, the tiny tail, and the overall funny appearance give Stitch quite a unique look. He might not be the most crowd-favored character from a Disney franchise, but he most definitely is an original brute with an interesting concept and a great personality.