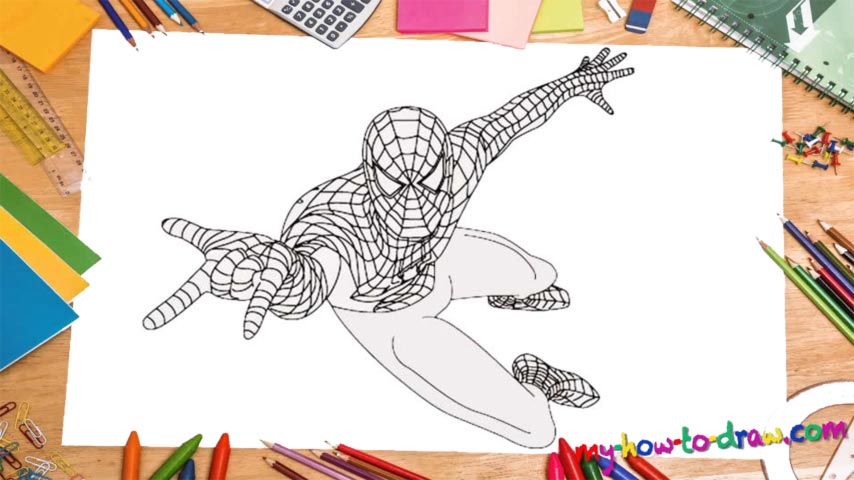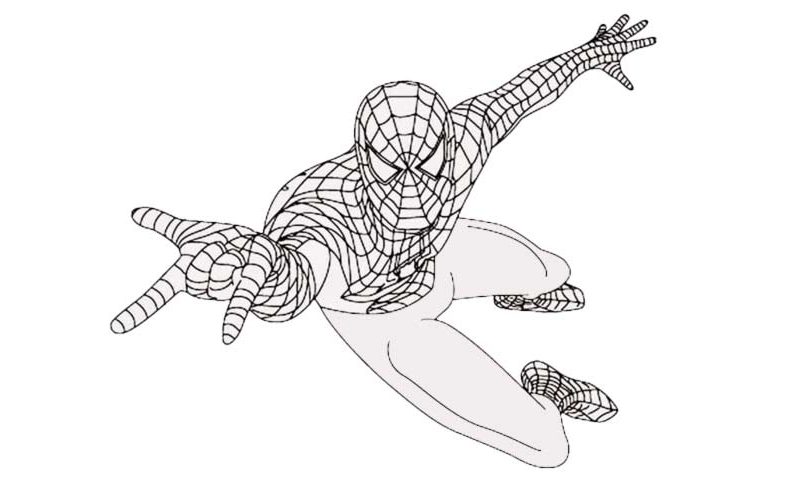
Learn How To Draw Spiderman In The Air Quickly & Easily
In order to make the drawing easier for ourselves, I recommend adding an oval shape for Spidey’s head and outlining the hand that’s about to throw a web (00 min 05 sec). Next, add the identical eyes and a line for the right hand (00 min 12 sec). That’s the intro to our how to draw Spiderman In The Air tutorial. Connect the left hand to his head by using the shoulder and keep working on the right hand (00 min 16 sec).
He’s got all of his five fingers open to create some balance in the air. Watch the video closely and use a series of simple lines to put all the individual parts together. We’ll keep working on the face and the hands further, but once the basics are in place, let’s move on to the legs (00 min 25 sec). It’s very important to get the angle right here if you want a realistic drawing. It’s not that hard, actually, but you’ll have to know exactly what you’re doing.
Start this part of the how to draw Spiderman In The Air tutorial with two simple lines for the right leg and the crotch (00 min 32 sec). The long line that looks like a hook on the left comes next (00 min 36 sec). The rest is easy. Add the feet according to my example and get to the last stage: creating the cool texture on his costume (00 min 50 sec). If you’re a fan then you know that the legs come without any “webs” (01 min 10 sec).
Before you learn how to draw Spiderman In The Air, did you know?
We’ve read countless comic books, watched numerous movies/TV series and played one too many video games dedicated to this amazing superhero. And in every single one of those stories, he’s always the good guy, ready to sacrifice everything to save others.
That’s what makes Peter special. With almost no equipment at all and a modest salary of a photographer, he’s relying solely on his instincts and the powers that the spider bite gave him. Fast, agile, and full of surprises, he’s always one step ahead of his foes.