Learn How to draw Seira – Anime Mermaid Quickly & Easily!
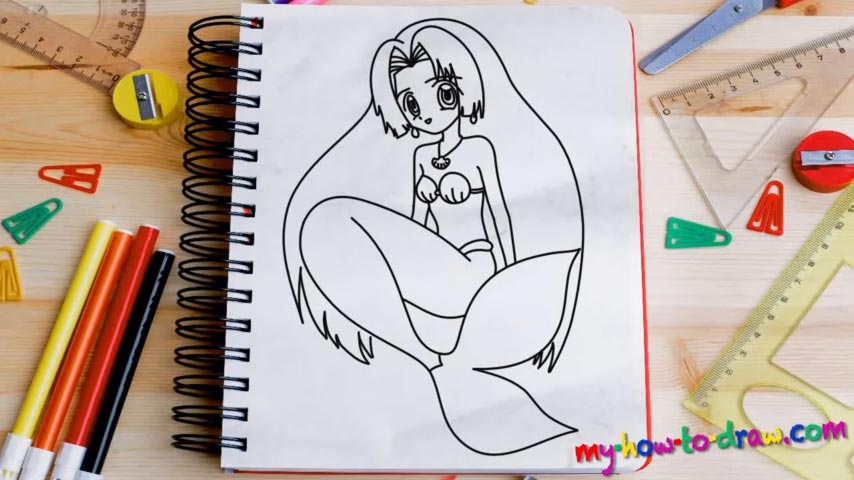
This is one of those sophisticated drawings that will help you improve your skills and become a more confident artist. Start this how to draw Seira – Anime Mermaid tutorial with the eyes, the windows to any living creature’s soul (00 min 27 sec). Because of the angle, the left eye looks a bit “narrower” than the right one (00 min 59 sec).
Once the brows are in, add two tiny lines right below the eyes for the nose and the mouth (01 min 52 sec). If everything looks good so far, move on to the gorgeous hair. The inner part of it is a lot more sophisticated than those long lines all over her shoulders. Be extra careful with the forelock – the rest is easy (03 min 00 sec).
Now, before you move on to the long hairlines, let’s take care of her body (03 min 51 sec). This stage of the how to draw Seira – Anime Mermaid tutorial begins with the neck and that cute necklace. Next, add that bra and take care of the slim hands (04 min 26 sec). The legs and the tail are connected, and we recommend drawing it all in one go.
You’ll need curvy lines for this part (05 min 02 sec). The tail itself is pretty huge and equals in size to the body and the head (05 min 54 sec). If you’re happy with what you’ve got, move back to the head and add those long strands of hair we discussed in the beginning (06 min 41 sec). Use long, curvy lines and make them extra “fluffy” at the bottom.
Before you learn how to draw Seira – Anime Mermaid, did you know?
This fragile young woman is a mermaid with impressive long hair and a big tail. She really loves to look pretty and prefers red lipstick that accentuates her natural beauty. Plus, the girl never takes off her stylish shell-made headphones.