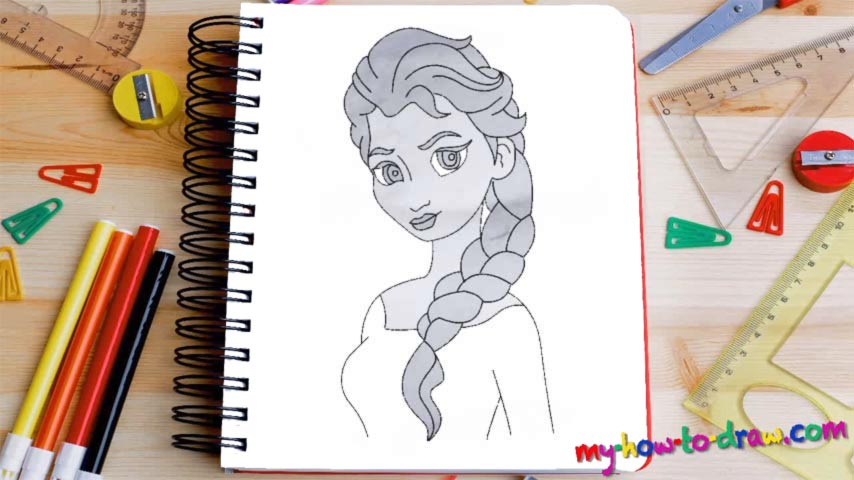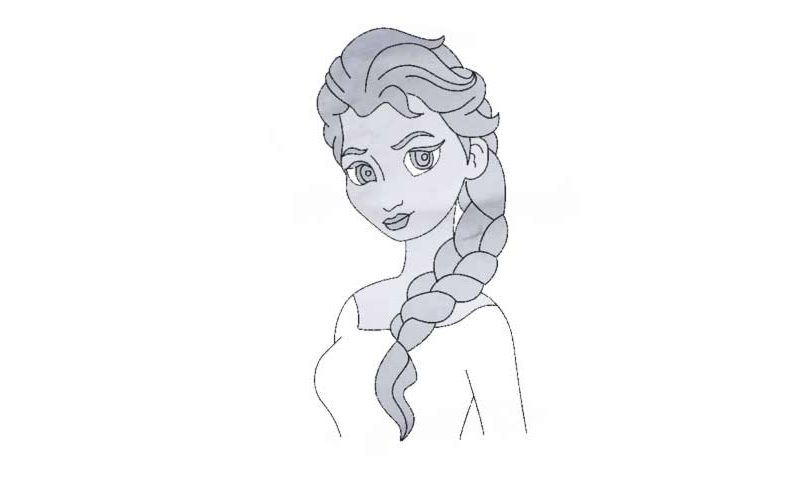
Learn How To Draw Queen Elsa Quickly & Easily
To make things easier, let’s start at the very top and add the hair on her head before moving on to the rest of the drawing (00 min 26 sec). Put in the basics first and then use one big curvy line to outline her face (00 min 36 sec). Alright, that’s it for the intro to this how to draw Queen Elsa tutorial. Now we go back to the hair and add a series of “waves” to make it look more realistic.
Once those are done, get to the facial features. The eyes are huge (00 min 55 sec). They accentuate the Queen’s natural beauty. And, they are pretty much identical. The lashes are nice and thick (01 min 20 sec). The nose is minimalistic; the lower lip is fuller than the upper one. Ok, the face is done. The young lady already looks awesome, but we’ve still got that gorgeous pigtail to add (01 min 40 sec).
Don’t rush right into it: this part of the how to draw Queen Elsa tutorial requires patience and that step-by-step approach. Use a number of similar curves for every single curl like I did in the video. The tip is a bit different (02 min 12 sec). The last thing to take care of is the upper body. It’s the easiest stage: we can only see her left hand and the top of the dress is quite minimalistic (02 min 25 sec).
Before you learn how to draw Queen Elsa, did you know?
She didn’t choose her destiny. Nature chose for herself, and now she’s the Snow Queen. From the outside, she looks like the calmest person on the planet, but in reality, she’s constantly fighting with her inner demons. Elsa knows that her powers are lethal.
And, she’s keeping it all a secret, hoping to find a way out from this nightmare on her own. If only the girl could be able to control it! This gift/curse almost took away her sister’s soul, and now Elsa is leading a secluded life, away from all the temptations that the world has to offer.