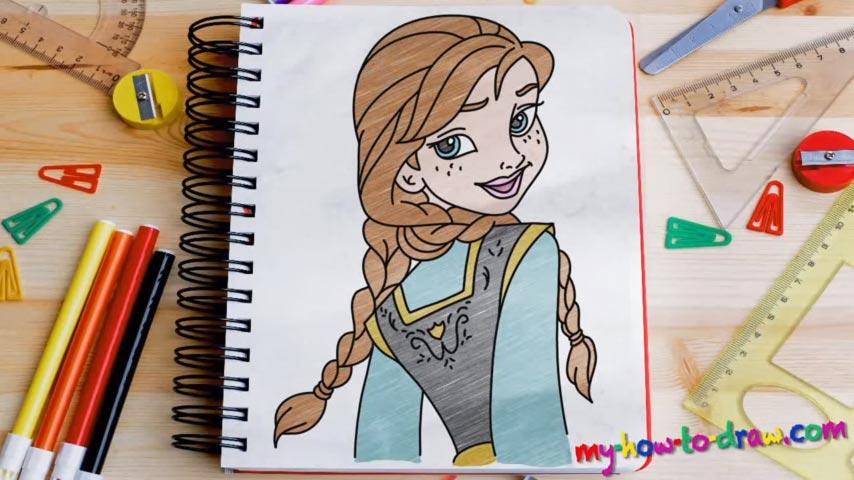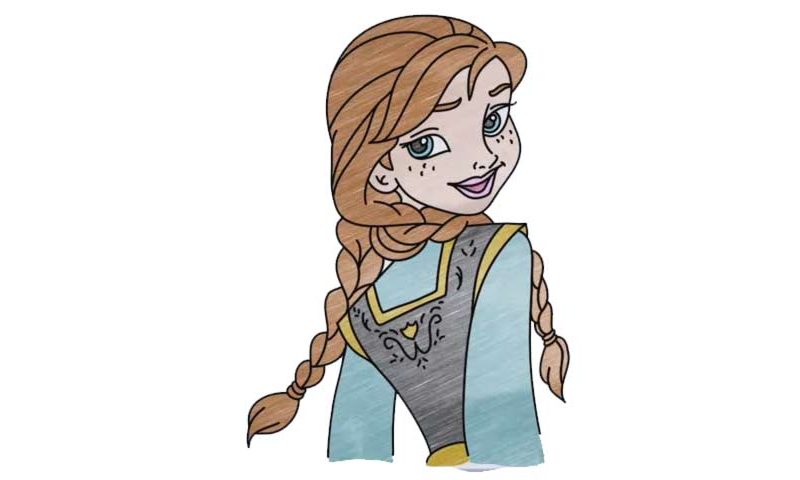
Learn How to draw Princess Anna From Frozen Quickly & Easily!
This tutorial might prove to be tougher than the rest, but once you master it, you won’t be afraid of these techniques anymore! So, you will not only learn how to draw Princess Anna From Frozen but also improve your drawing skills. The beautiful lady’s eyes come first (00 min 27 sec). Next, use that line next to the right eye to create the nose and the mouth.
If everything looks good, use a couple of curves to outline the hair on top of the character’s head (01 min 33 sec). Remember: the face should be nice and round – try to be extra-smooth with the curves when drawing the girl’s jaw (02 min 07 sec). Once that’s done, move back up and let’s take care of the hair properly (02 min 26 sec).
The double pigtail might look like the most difficult thing you’ve ever created, but it’s actually not. It is, however, the main “attraction” of our how to draw Princess Anna From Frozen tutorial. Let the video guide you and do everything exactly like I did. After you fail a couple of times, you’ll get the idea behind this. No need for me to describe every single stroke you’ll need to draw because it’s all intuitive.
Anna’s back has more straight lines than the rest of the composition (03 min 24 sec). It’s pretty minimalistic but has a design that instantly tells us she comes from a royal family (05 min 30 sec). Again, don’t be afraid to fail, dear friends. Drawing is all about spending days and nights on a certain element and improving our own skills through hard work!
Before you learn how to draw Princess Anna From Frozen, did you know?
This girl is the main character in the hit animated movie – Frozen. She’s Elsa’s little sis and quite a courageous and motivated young woman. When the two sisters become enemies and their kingdom turns into an icy rock, she risks her own life for a chance to fix everything.