Learn How to draw Potplants Quickly & Easily!
Flowers are super-popular and are a great way to improve your drawing skills. They can fit in almost every single composition and are considered to be a classic. Ok, let’s get on with our how to draw potplants tutorial and see what we can do to achieve amazing results without any real skills at this. Yep, that’s the beauty of this video: you don’t have to be a pro to pull this off.
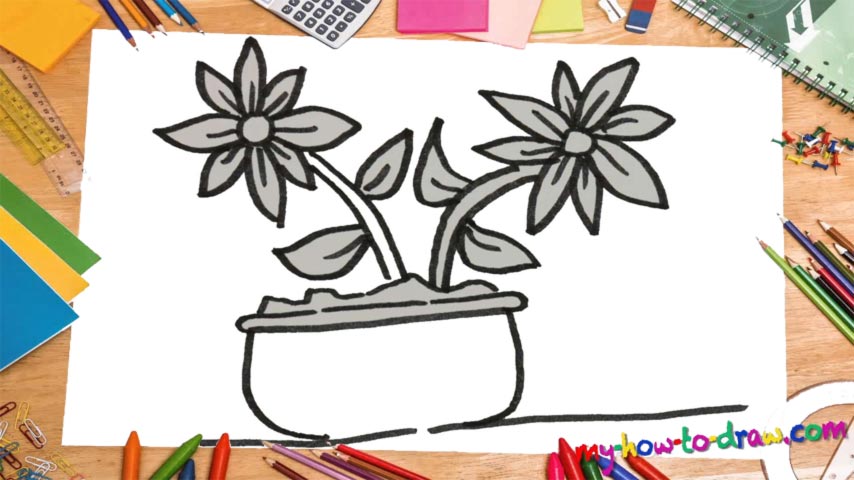
We start by drawing two parallel horizontal lines at the bottom of the paper (00 min 05 sec). They don’t have to be super-straight – just go with whatever your mind is telling you. Next, create two curves on both sides of the upper line and connect it to the one located just below it (00 min 12 sec). Yes, we’re working on the pot right now. Next, get to the soil inside that pot (00 min 34 sec). It’s a combination of zigzags and triangles.
Now it’s time to move on to the main stage of this how to draw potplants tutorial – the flowers (00 min 40 sec). Start with a tiny dot in the upper left corner. Surround it with multiple curvy shapes – the leaves – like I did in the video. Then, move on to the flower on the left (01 min 18 sec). Make sure that it’s located a bit lower than the left one.
Once you’re done with it, move back to the leaves of the first flower and add some details (01 min 45 sec); same goes for the second one. Alright, it’s time to get to the stems (02 min 01 sec). This is the easiest part of our how to draw potplants guide.
The final stage includes adding flowers on the stems (four in total) (02 min 19 sec). After that, the tutorial will basically be over. And you don’t have to be 100% correct with these leaves because when it comes to drawing organic stuff, there are no strict rules.
Before you learn how to draw Potplants, did you know?
Back in the day, the greatest artists were big fans of still life painting. These days, it’s considered to be an old-school thing, but that only makes it that much more interesting. Thankfully, this tutorial is quite simple and you’ll be able to “crack” it easily.