Learn How To Draw Pac Man Quickly & Easily
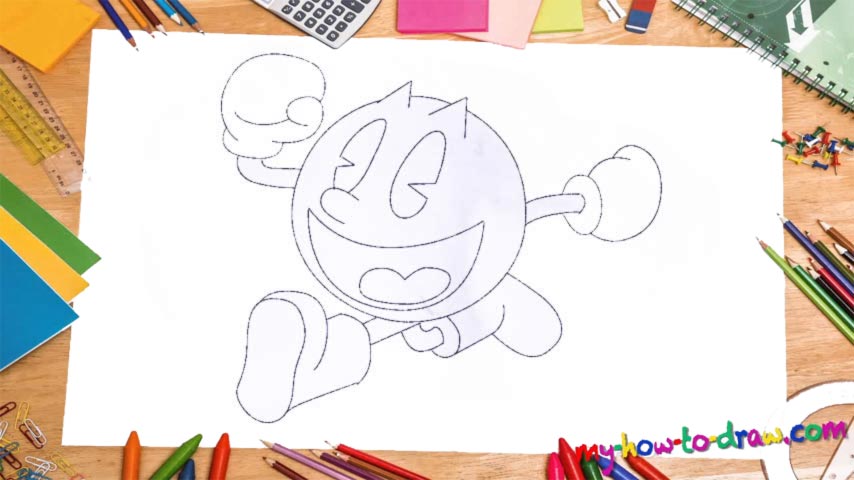
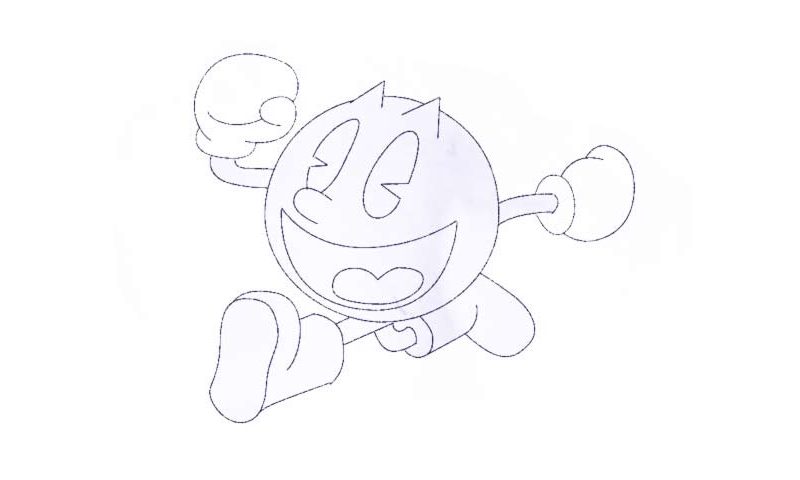
This is a relatively easy tutorial and you’ll be done with it in about one minute. Start with the ears slash “horns” on top of our character’s head (00 min 25 sec). They look like triangles. Once they’re in place, go ahead and add a huge circle in the middle of the paper (00 min 30 sec). It should begin at the bottom left corner of the horn on the left and touch the top of the one on the right. The hands, the next step in this how to draw Pac Man guide, follow.
They both look like they’re covered in boxing gloves (00 min 35 sec). Don’t rush this part and make sure you’ve got the fist right. They look great? Ok, then it’s time to handle the facial features (00 min 52 sec). His nose and mouth are a piece of cake. The mouth looks like a half-moon, while the tongue resembles a heart. Nothing hard about the eyes (01 min 00 sec).
The final step in this how to draw Pac Man tutorial are the legs. He’s got huge boots on (01 in 05 sec). And, just like with the hands, the most important thing here is to get their respective angles right. Pac Man is running, and that is why his legs and hands are in a “marching” position. Ok, now we’re officially done with this lesson.
Before you learn how to draw Pac Man, did you know?
As the character of one of the most legendary Namco series, Pac-Man is some sort of a legend among the fans of video-games. Created by a Japanese company, he’s different from all the Western heroes. That makes him stand out in a good way. Pac-Man was introduced in 1980.
Since that day, he’s been featured in 30+ official games. Furthermore, there was a great TV series dedicated to him and a whole bunch of merchandise along with it. If you love games and have been a gamer since the early days, that means Pac Man is a good “pal” of yours.