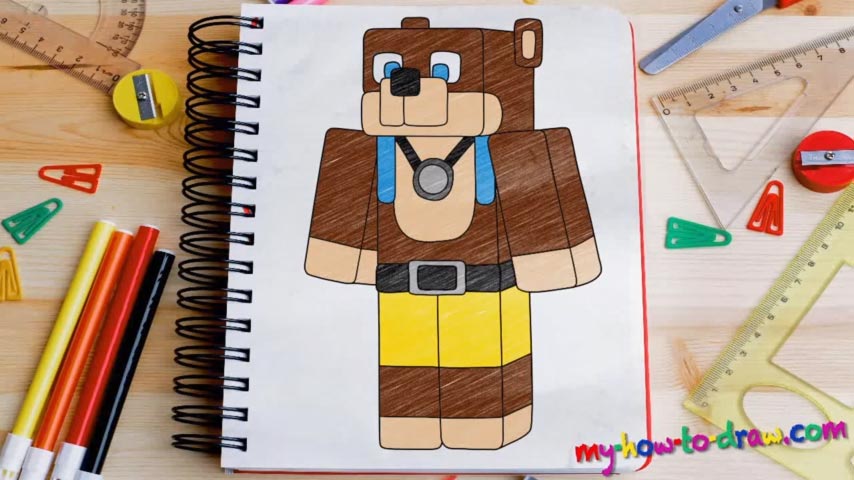
Learn How to draw Minecraft L For Leeeeee Quickly & Easily!
Place your paper right, arm yourself with light strokes and get ready to create a rough sketch. If you want to learn how to draw Minecraft L For Leeeeee, this is how you should proceed. Start with the square on top of the paper (00 min 45 sec). Basically, the whole composition is made up of simple shapes like squares and rectangles.
I won’t get into much detail regarding the rest of the guidelines because everything is pretty self-explanatory. All you’ll have to do is follow the video and put all those straight lines in. There are no curves or smooth lines, which makes our job a lot easier. So, if you’re happy with the rough sketch, grab your favorite marker and let’s move on to the next stage.
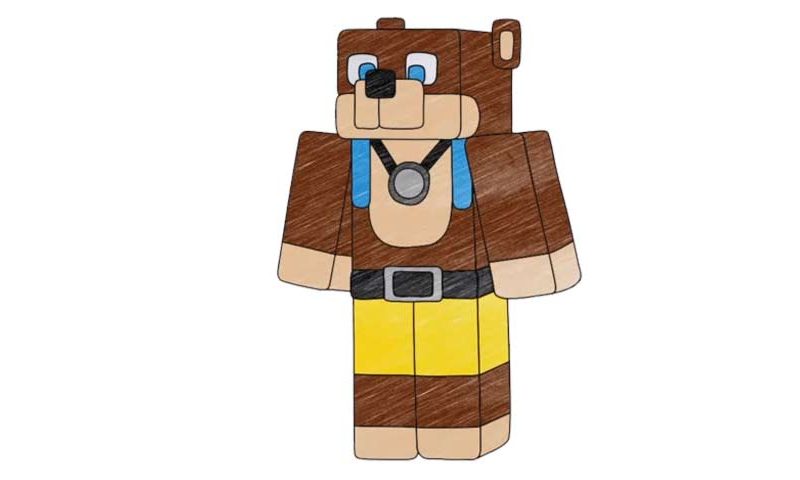
This is the how to draw Minecraft L For Leeeeee tutorial, and you should begin with the nose and the mouth (02 min 33 sec). Once those are in place, move on to the eyes (02 min 57 sec). Keep in mind that the left pupil is located a bit higher than the right one. After most of the face is done, you should draw the right arm (04 in 07 sec).
The left one looks almost exactly the same. The legs are also identical, which, again, allows us to get everything right from the first couple of tries. Don’t forget about the big and shiny belt (04 min 42 sec). That medal on his chest is among the most important features of this how to draw Minecraft L For Leeeeee guide as well (05 min 27 sec).
Before you learn how to draw Minecraft L For Leeeeee, did you know?
Hands down, this is one of the most commercially successful video games in history (it’s in the top-3 of best-sellers). So, it shouldn’t come to you as a surprise that folks really love to draw numerous characters from Minecraft. After you master this tutorial, you’ll start to look at the game from a different angle :).