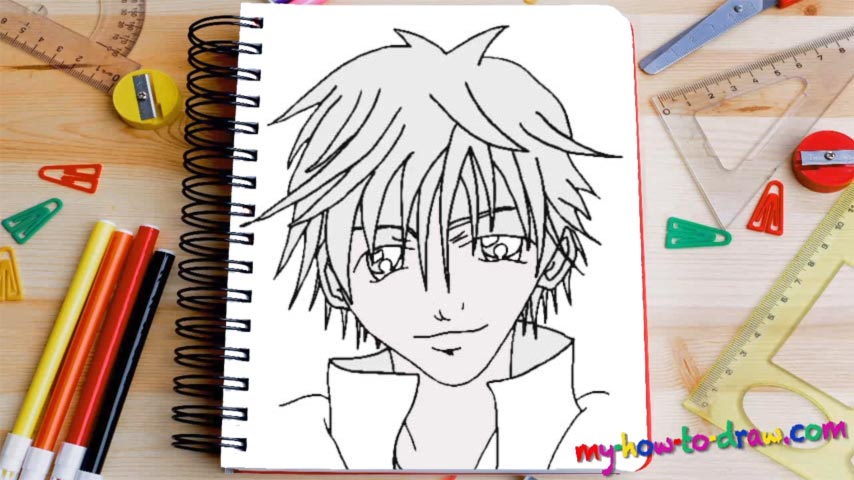
Learn How To Draw Manga Boy Quickly & Easily
Let’s start with a V-like curve for the lower jaw (00 min 21 sec). Once it’s in place, add two simple lines to define where the eyes should be (00 min 38 sec). And now we get to the main part of this how to draw Manga Boy tutorial – the hair (00 min 50 sec). This is a classic Japanese haircut that the young men love so much. And when it comes to this genre, the vast majority of the fellas have it.
It’s pretty hard and sophisticated at first; but, if you “conquer” it step by step, you’ll see that it’s quite logical and easy to complete. Begin with the strands in the middle and gradually move on to the left and right while keeping an eye on the video for guidance. We’re not about to get into every tiny detail because that will distract you from the process. Listen to your inner voice and follow this part through.
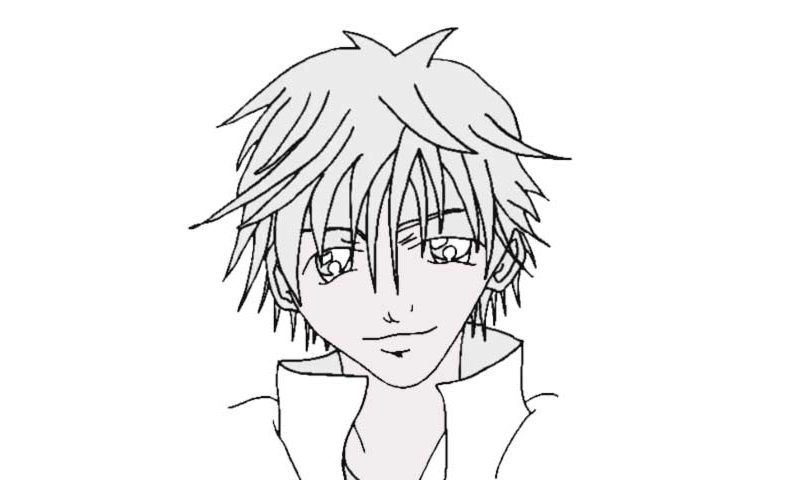
If you’re happy with the hair, get to the next stage in this how to draw Manga Boy manual. The ears are identical to each other and sit on the same level as the eyes (03 min 07 sec). You’ll need two simple curves for each. Nothing special about the eyes (03 min 32 sec). Make sure they’re “narrow” like in the video. As always in Manga, the nose, the mouth, and the chin are the easiest parts (05 min 02 sec). The final thing to add is that fancy coat (06 min 02 sec).
Before you learn how to draw Manga Boy, did you know?
Just take a good look at that guy: he’s a classic Japanese bad-boy that all the girls fall for. Those big eyes, that super-high neck of his coat, and the haircut turn a regular young man into an icon for the ladies. We bet you’ve seen this image in countless Manga stories.
The great thing about this genre – it’s a mix of many cultures, styles, and genres, and that is exactly why you can see some of the trademark European elements in this drawing. Take your time with it and make sure you master this tutorial because it’s definitely worth it!