Learn How To Draw I Love You So Much Quickly & Easily
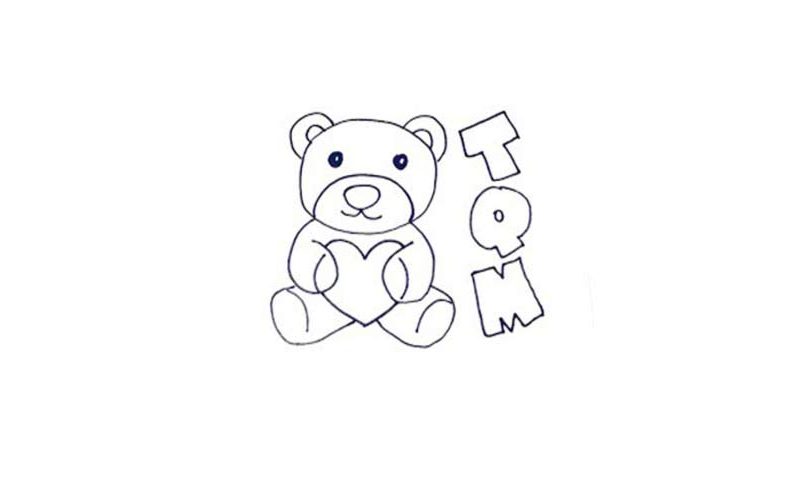
We’ve got two objects in this video guide – a cute bear on the left side and a text – TOM – on the right. We will begin the how to draw I Love You So Much tutorial with the animal’s head (00 min 07 sec). Create an oval shape that looks like a rugby ball; next, add the identical ears on both sides (00 min 12 sec). The facial features follow (00 min 21 sec).
The eyes are just two tiny black circles with white dots inside. The nose is like a big potato (00 min 34 sec). Separate it from the eyes with a curvy horizontal line. Once that’s done, move on to the hands that are holding a big heart (00 min 46 sec). The heart sits right between the hands (00 min 59 sec).
Make sure the legs are places exactly like you see in the video (01 min 06 sec). Alright, let’s finish this how to draw I Love You So Much tutorial by completing the text on the right (01 min 18 sec). There are three letters (T, O, and M). The O comes with a tiny twist (01 min 24 sec). The rest is very simple and straightforward.
Before you learn how to draw I Love You So Much, did you know?
This is a simple phrase that we don’t say very often to the people we love. We think that they already know that, and while it’s true, it’s always nice to hear those words from someone that means a lot to you. This bear won’t be hard to draw, and for some people, it might look like very “corny.”
Don’t let them bring you down! Every single living-breathing creature on planet Earth wants to be loved and cared about. As for this simple drawing, it will help you remind your loved ones once again that you put them above everything else and even find the time to draw a heart-warming picture for them.

