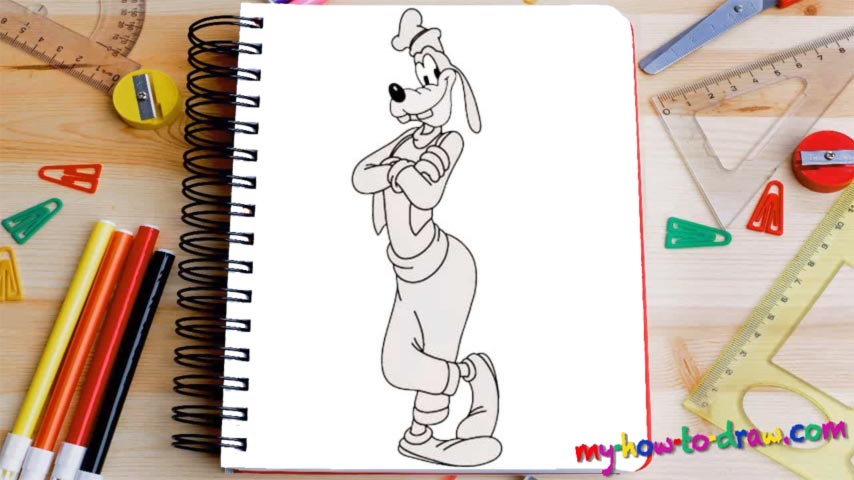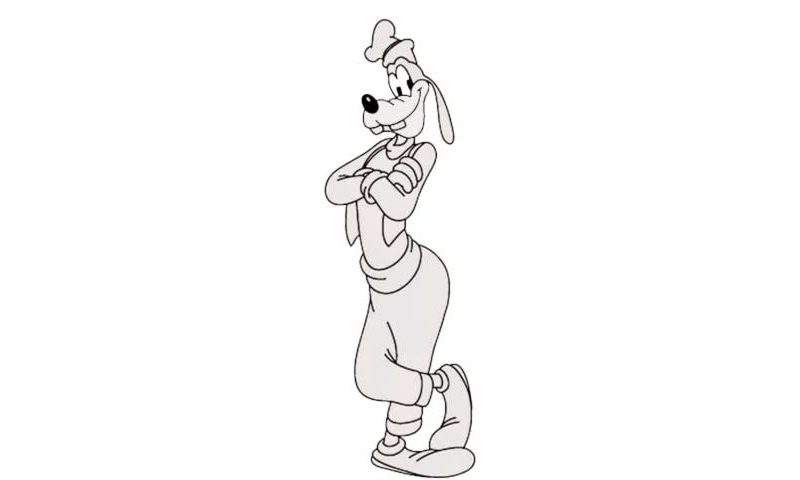
Learn How To Draw Goofy Quickly & Easily
The nose, colored black, should come first (00 min 04 sec). The front jaw and the teeth follow (00 min 12 sec). Use a V-like curve at its bottom to shape the mouth and move on to the rest of the face (00 min 16 sec). The next step in this how to draw Goofy tutorial are the eyes. They are pretty simple and straightforward. The right ear will almost complete our character’s head (00 min 20 sec).
He’s got a classy hat that gives him that iconic look. Thankfully, it’s also quite intuitive. If you’re happy with everything, get to the dog’s body (00 min 32 sec). The hands are folded, and we can see four fingers on Goofy’s left hand (00 min 48 sec). Once the top is done, you can move on to the legs. They are the final stage in this how to draw Goofy tutorial (01 min 00 sec).
The most important thing here is to get the angle right (01 min 08 sec). True, you don’t have to make the curve look exactly like the one in the video, but for maximum realism, do try. Those fancy boots on his feet are the last thing to take care of (01 min 35 sec). The dog’s pose is a bit tricky and might prove to be hard at first. But keep on trying and you’ll get it!
Before you learn how to draw Goofy, did you know?
This world-famous dog was first introduced to the world in 1932. He’s tall, walks like a human being, and is best friends with Donald (the Duck) and Mickey (the Mouse). As far as the most fan-favored and recognizable cartoon heroes go, Goofy is on top of the list.
Usually, this guy is clumsy and all kinds of ridiculous, but sometimes, he turns into a completely different person – a clever, witty and intuitive one. He got his own TV series in 1939, 7 years after the official debut, and became even more popular.