Learn How to draw FNAF Marionette Quickly & Easily!
This is a simple drawing without any sophisticated shapes, curves, or shading techniques. Therefore, the rough sketch is also easy to make. Begin with the oval shape in the middle and divide it with two smooth lines (00 min 39 sec). The neck comes next. The rest is even more straightforward. That’s it for the how to draw FNAF Marionette intro.
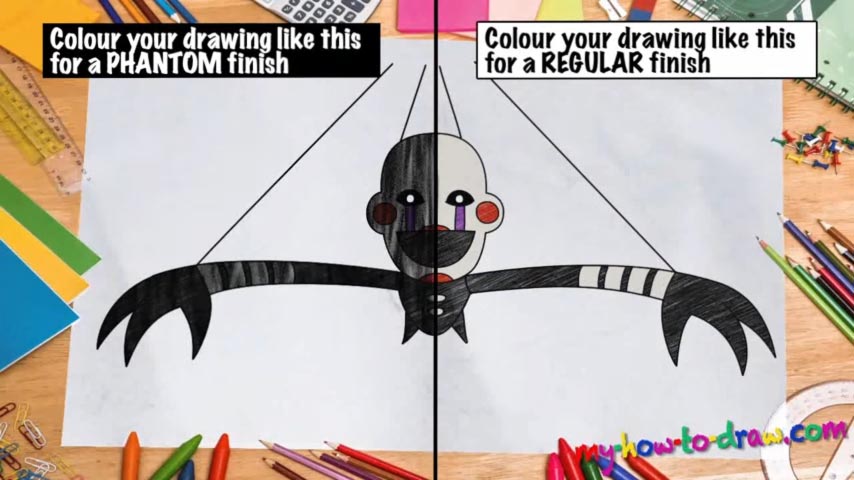
Now it’s time to use darker strokes and/or a good marker to bring this drawing home. We recommend starting with the eyes (02 min 01 sec). They should sit right on top of the horizontal curve we just drew as a part of our guiding lines. The eyes are identical; don’t forget about those white dots in the middle.
The scary mouth comes next (02 min 43 sec). Connect it with the eyes through the “tears” and move on to the head. Basically, you’ll just have to go over the oval shape and make the lines smoother (03 min 25 sec). The hands might look scary, but they’re probably the easiest part of this how to draw FNAF Marionette tutorial (04 min 17 sec).
Three “claws” and two straight lines are all it’s going to take you to get this part right. And don’t forget about those vertical lines that will be colored white later (05 min 09 sec).
Before you learn how to draw FNAF Marionette, did you know?
First of all, this is a pretty popular game among the players. Second, it’s full of weird, ridiculous, scary, and totally original characters. That is exactly why you see so many drawings from FNAF on our website – they’re just that good!
With a plastic mask and some sort of artificial tears, this doll will give you heart attacks if you play late at night in a good set of headphones. It’s tall, skinny, and looks like it’s about to cry or scream at any given moment. Don’t get too close unless you absolutely have to!