How to draw Fire Quickly & Easily!
This is probably the shortest tutorial on our website. And that shouldn’t come to you as a surprise because there’s nothing but flames in it (literally). So, with that said, let’s sit back, relax, and learn how to draw fire using the following technique. There are many different methods out there, and we think that this one is definitely worth your while.
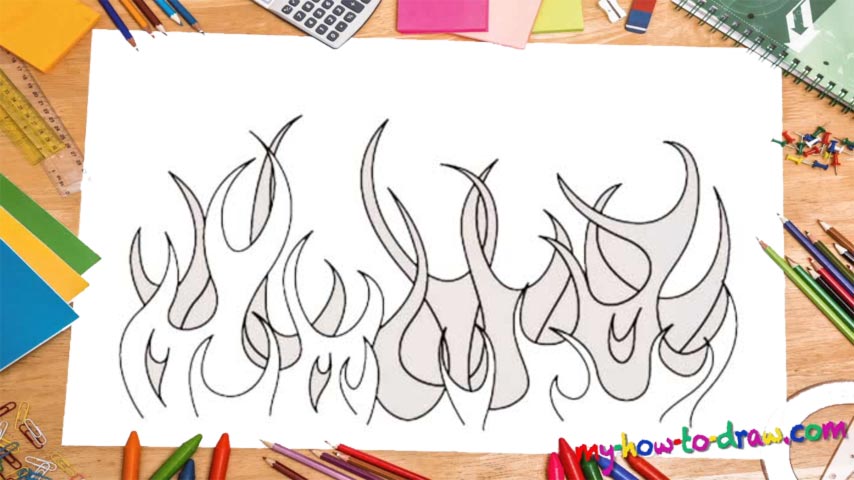
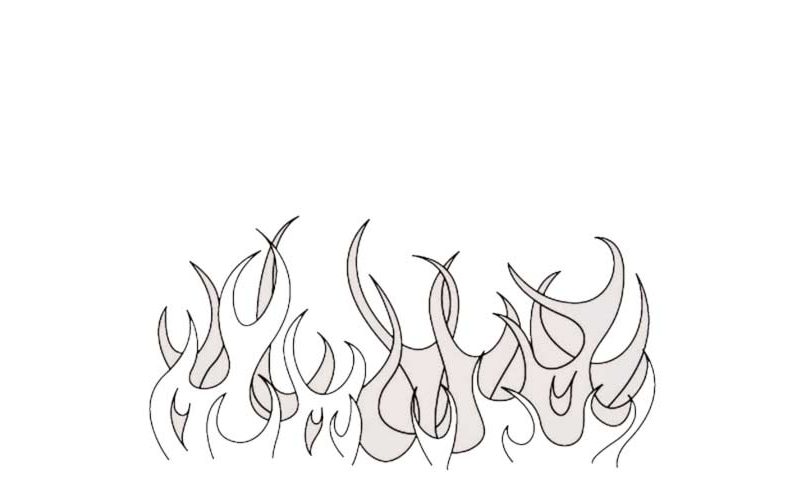
We’ve got a bunch of flames that sit on top of each other, and, even though it all looks like a bunch of random lines, there’s order to them. I recommend starting with the first layer of flames just like you see in the video (00 min 05 sec). They might not look like fire to you right now, but please, be patient and follow my guides. The second layer is much taller but looks pretty much the same (00 min 08 sec).
Don’t try to match my flames 100%; still, make sure your drawing is consistent with mine. The third layer introduces more flames, and it’s probably the trickiest one in this how to draw Fire tutorial because it’s cohesive (00 min 14 sec). Again, follow your intuition with this one. See that last flame that looks like a magic wand or something like that (00 min 18 sec)? You should place it in the middle of this composition and be done with it!
Before you learn how to draw Fire, did you know?
No point in describing fire, right? It’s just there. But if we take a moment to appreciate it, we’ll realize that without it, our kind would’ve never made it to the 21st century. We use it to keep warm, to scare the predators away, and to cook tasty and healthy food.
At the same time, it’s capable of devastating entire forests and destroying our homes. Playing with fire is one of the worst ideas ever, and we’ve got the firefighters to protect us from the lethal flames. Used wisely, fire is a life-savior and a great ally.