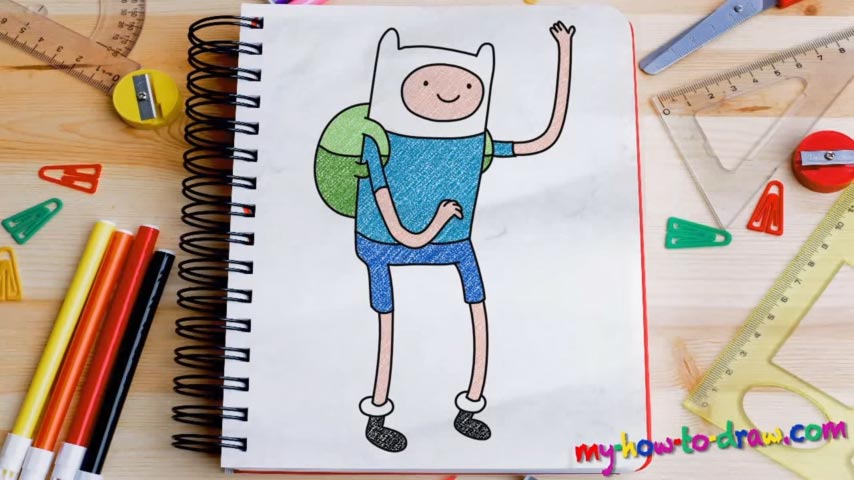
Learn How to draw Finn Mertens Quickly & Easily!
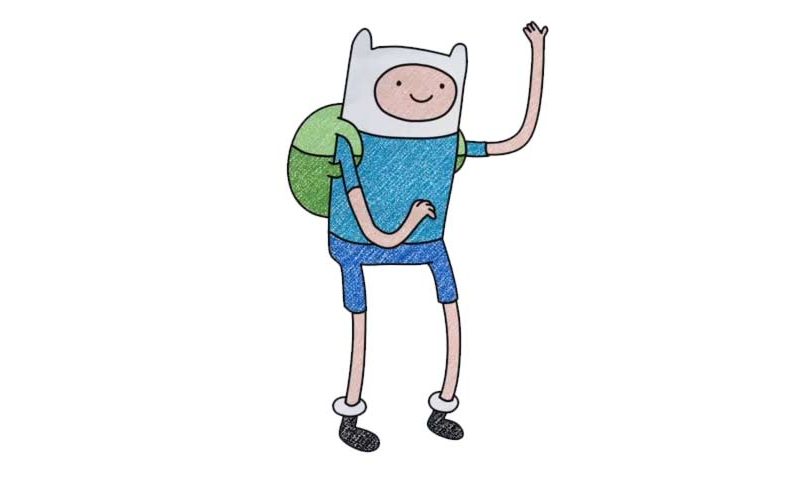
As you can already see from the preview, this is a pretty simple drawing. Yet, it looks awesome. Place your paper horizontally, grab a nice pencil/marker and let’s learn how to draw Finn Mertens. Start with the boy’s head (00 min 27 sec). Put two tiny dots and one curve inside the circle for the eyes and the nose.
If everything looks good, finish the head by using two identical curves like you see in the video and move on to the rest of the body. See that bag on his back (01 min 07 sec)? Take care of it first. It’s very primitive and consists of a basic shape and a couple of lines. The hands are super-slim and long (01 min 40 sec). The only thing you gotta worry about is the right placement and proportions.
The rest of the how to draw Finn Mertens tutorial is relatively easy. The legs are just as thin and long as the hands (02 min 28 sec). The boots are identical and won’t cause you any problems (03 min 06 sec). Make your curves nice and smooth, but not too much. Try to keep the “trademark” features of our hero intact.
And that’s actually it for this manual. Finn is not the only character from the famous cartoon our website – go and check out the rest of them right now!
Before you learn how to draw Finn Mertens, did you know?
This overzealous fella is one of the main characters of a popular animated series called Adventure Time. His dad used to be a thief and a con artist. When his rivals finally caught up with him, the man was forced to leave home with the baby Finn in his hands.
But the Guardian attacked them in the middle of the ocean, and the kiddo ended up in Ooo all alone. Thankfully, a kind couple picked him up in the forest and raised the boy as their own. Jake, their son, became Finn’s best friend and brother.