Learn How to draw Elephants Quickly & Easily!
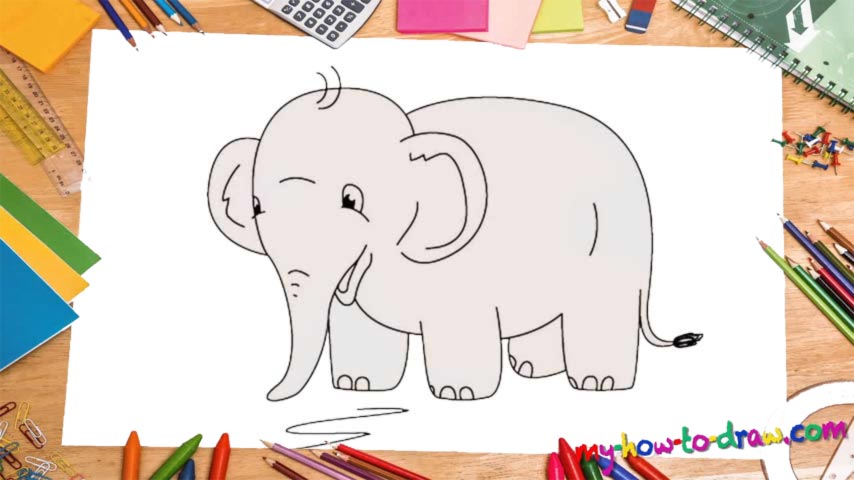
See the length of this video? Think you can be done with it in a minute? Let’s dive into this wonderful how to draw Elephants tutorial and find out! I recommend starting with the shape that covers the trunk and the head (00 min 05 sec). It looks like a tennis racquet. Next, add the ears. They should be positioned at the same height. However, because of the angle, the left ear is partially covered by the head.
Once that’s done, use a long and curvy horizontal line that begins at the top of the head and goes vertical at the end to form the back (00 min 12 sec). It should be just a smidge shorter than the trunk. The tiny tail and the legs come next (00 min 20 sec). It’s safe to say that this animal’s legs are the easiest part of this how to draw Elephants tutorial. At the same time, make sure you get their respective heights right.
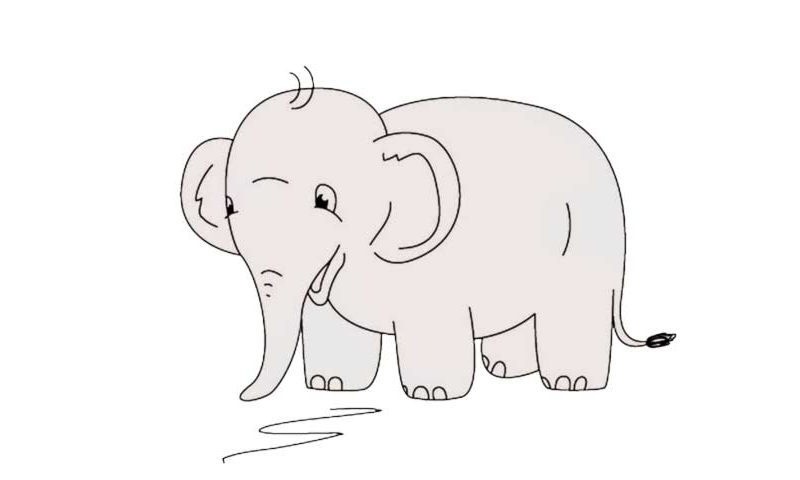
After you add that curvy line, the body will be pretty much done (00 min 30 sec). Now it’s time to take care of the face. The eyes consist of three things: one curve for the “foundation”, and two oval shapes for the rest (00 min 40 sec). Finally, go ahead and add some details on the trunk, the feet, the tail, and, of course, the top of the head. And don’t forget about those zigzaggy lines inside the ears!
Before you learn how to draw Elephants, did you know?
Have you ever seen an elephant in real life? These huge mammals are truly enchanting and a “face-to-face” meeting will get stuck in your brain for years. The Asian species weight +/- 6 tons, live for about 50 years and the females carry their babies for 18-22 months.
Plus, they are 2.5-3 meters tall and can crush pretty much any creature from the animal kingdom. Thankfully, the elephants aren’t aggressive predators and like to keep to themselves. There are three distinctive species, including the African bush/forest and the Asian elephants.