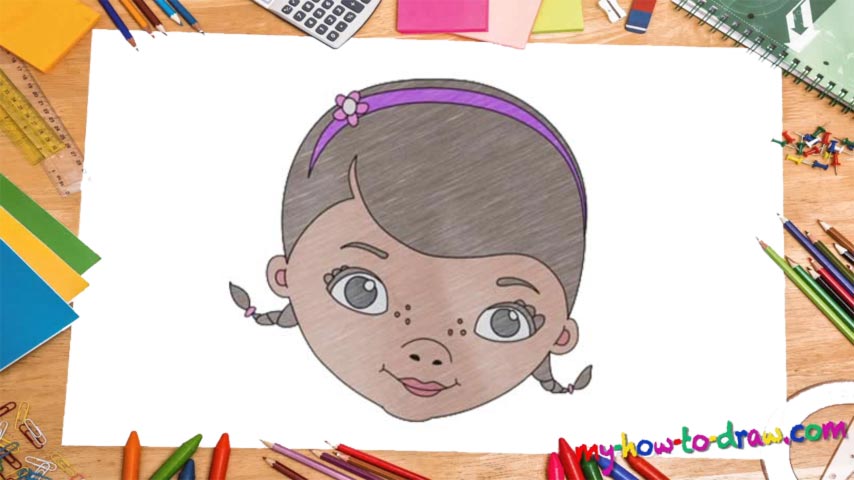
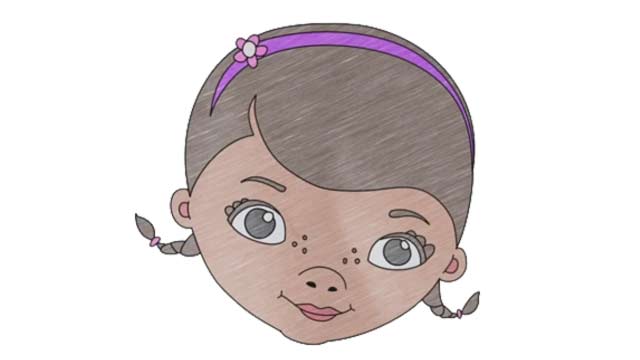
Learn How to draw Doc McStuffins Quickly & Easily!
Don’t let that cute face fool ya – this drawing will require some skills and a lot of dedication. But if you’ve got those, then you’ll learn how to draw Doc McStuffins in no time! First things first, we’ll add some pointers – the so-called guidelines – for our character. That huge circle slash oval shape comes first (00 min 24 sec). Then, divide it into four parts.
This is one of the most important things to keep in mind: make sure you place the horizontal and vertical lines exactly the way I did. Otherwise, all the facial features will seem out of the picture later when you get to them. If you’re satisfied with the sketch, move to the actual drawing (01 min 32 sec). You might be happy to learn that the eyes look the same and you can just copy the first one if you want to. Place them directly on top of the horizontal curve.
This might sound funny to you, but the eyes look a bit like tiny fish :). The next step in our how to draw Doc McStuffins – the nose and the mouth – is the easiest part (03 min 20 sec). All you’ll ever need for the nose is one curvy line and two dots for the nostrils. The mouth is a combination of three simple curves – that’s it! Add those cute freckles next (04 min 27 sec). The eyebrows are a piece of cake. Same goes for the ears (05 min 12 sec).
If everything looks good, move on to the head (05 min 45 sec). Follow the guidelines and make the new curves smoother. The hair is one of the most important stages in the how to draw Doc McStuffins manual, but it’s also quite easy (06 min 13 sec). Let the video guide you and bring this home. And don’t forget about those adorable ponytails (08 min 31 sec).
Before you learn how to draw Doc McStuffins, did you know?
Last year, Disney renewed this fine animated TV series for a 5th season. Doc, the main character of the story, is a young African-American kiddo who really loves to help those in need. Gifted, funny, and full of life, she’s one of those people that bring light wherever they go. She’s just a 7-year-old little lady but is already working on her medical skills.

