Learn How To Draw Cartoon Cats Quickly & Easily
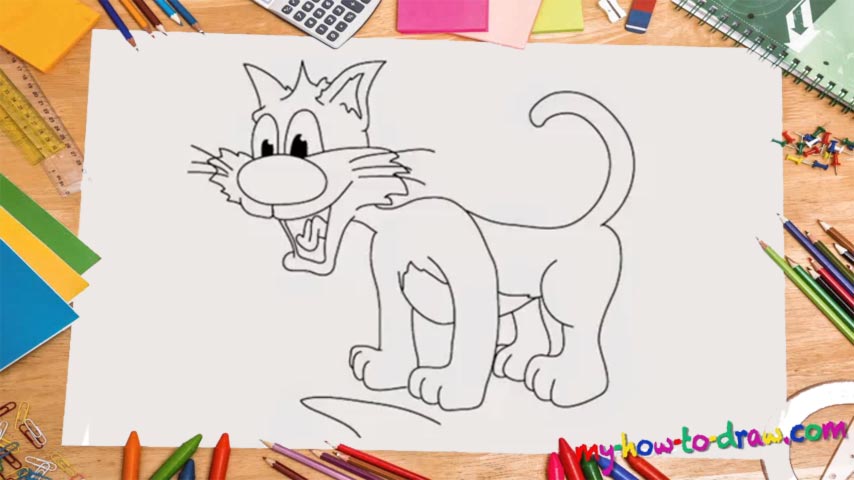
See that huge nose that resembles a rock and/or a big potato? Put it in first before moving on to the next parts of this how to draw Cartoon Cats tutorial (00 min 05 sec). Next, add the fluffy cheeks (00 min 12 sec). The eyes sit right above the nose and come with black pupils (00 min 20 sec). They are located very close to each other and look pretty much the same. The hair on the head should follow.
You’ve got two sharp and perky ears “hanging” over the eyes (00 min 25 sec). Once those are in place, you can go ahead and add the whiskers (00 min 35 sec). The mouth is the easiest part of this video guide and completes the head of the cat. Now it’s time to get to the body, the next stage in our how to draw Cartoon Cats tutorial (01 min 00 sec). Start with creating two similar lines to cover the side legs.
The tail that looks like a question mark takes up most of the animal’s back and connects the two legs to each other (01 min 05 sec). Those C-like curves are there to cover the “blanks” between the four legs (01 min 12 sec). Keep drawing them and adding three fingers on each to complete this fine guide. The last stroke should be the curve at the very bottom of the drawing (01 min 43 sec).
Before you learn how to draw Cartoon Cats, did you know?
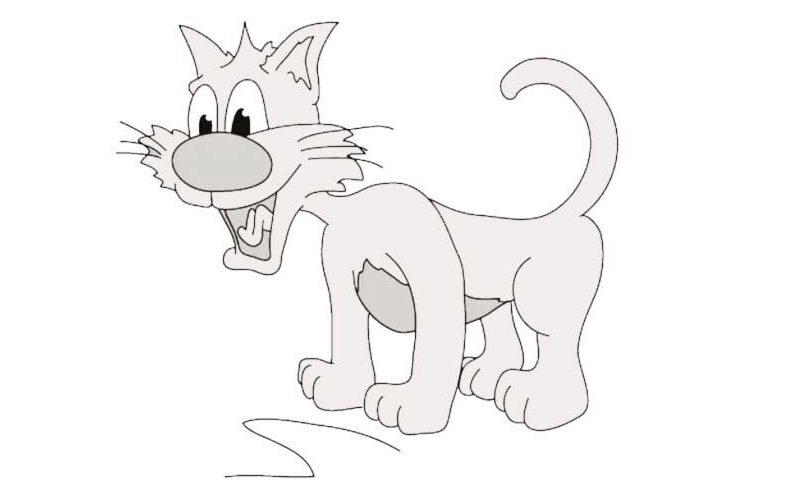
The majority of the classic cartoons used to feature at least one cat character with a strong personality. The tradition is still alive, but back in the day, they were truly awesome. And while some of the artists loved to come up with some crazy animals, this one’s relatively simple and regular.
We’ve got a standard kitten with four legs and a head that’s only slightly bigger than it would be in the life. This is a basic drawing that looks great on paper and will be easy to master even for the beginners. Join our ranks and let’s learn how to draw Cartoon Cats!