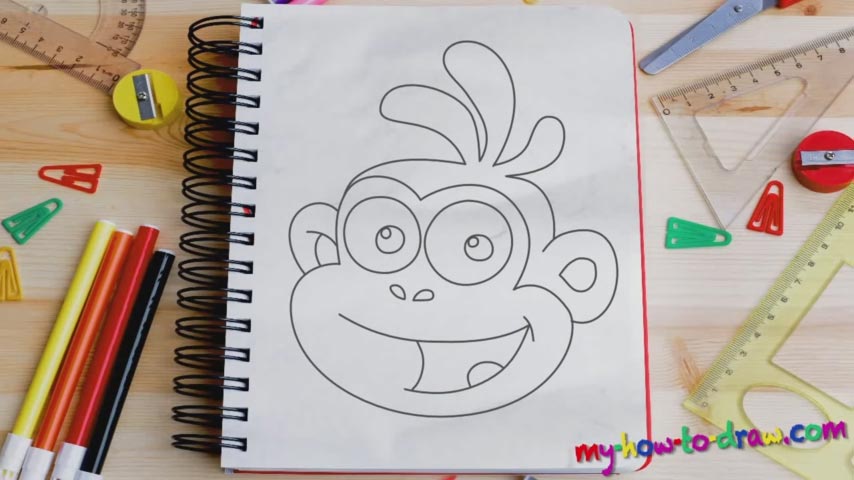
Learn How to draw Boots From Dora Quickly & Easily!
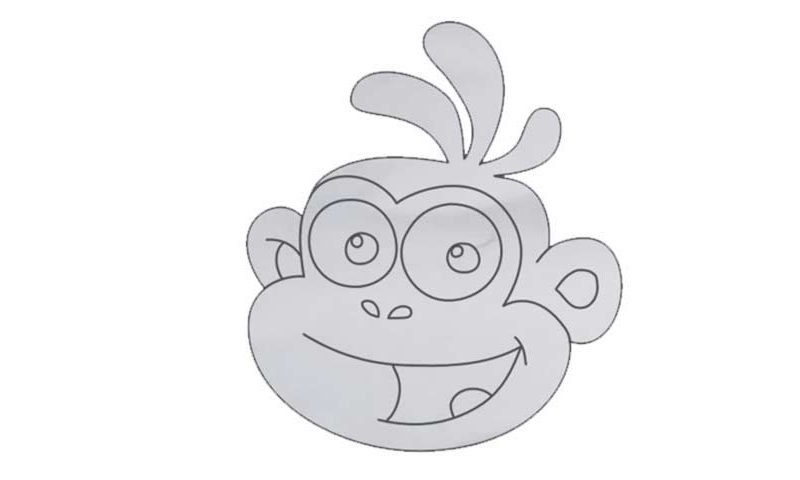
The eyes of this engaging monkey are in the center of our attention (00 min 29 sec). That’s exactly why we’ll start the how to draw Boots from Dora tutorial by creating two circles in the middle of the paper. Make sure the right eye is a bit bigger and located slightly lower than the left one. This is important if you want the expression on his face to be realistic.
Add two more circles inside each eye and you’ll be done. The mouth is the next stage (00 min 57 sec). To make it look good, you’ll need a bunch of curvy lines (two horizontal ones for the top and the bottom, two vertical lines to shape the mouth and one half-circle to imitate the tongue). As is often the case with cartoon characters, the nose is just a couple of identical nostrils “sitting” next to each other (01 min 16 sec).
The final stage of this how to draw Boots from Dora tutorial is the head. Use a combination of super-smooth lines to outline the lower part of the face. I strongly recommend using the mouth as your guide; that way, it will be much easier to get everything right. The ears are a piece of cake (01 min 36 sec). Once you add that fancy hair on top of our hero’s head, this tutorial will be complete (02 min 02 sec)!
Before you learn how to draw Boots From Dora, did you know?
Remember that funny monkey that follows the girl on every step of the way as she tries to teach him how to handle things? His name is Boots, and he’s a 5-year-old boy with a big heart and love for adventures (just like Dora).
The truth is – he’s like her little brother and is ready to do whatever she tells him to. Thanks to his overzealous nature, Boots makes mistakes every now and then but always manages to get back on his feet. When these two are together, nothing can stop them!