Learn How to Draw Anime Eyes Quickly & Easily!
Ok, let’s see what it is going to take to draw a really cool anime eye that you’ll be able to use in your other drawings. If you’ve been with us for a while and want to learn how to draw Anime Eyes, we bet you already know that the guides need to be drawn using light strokes.
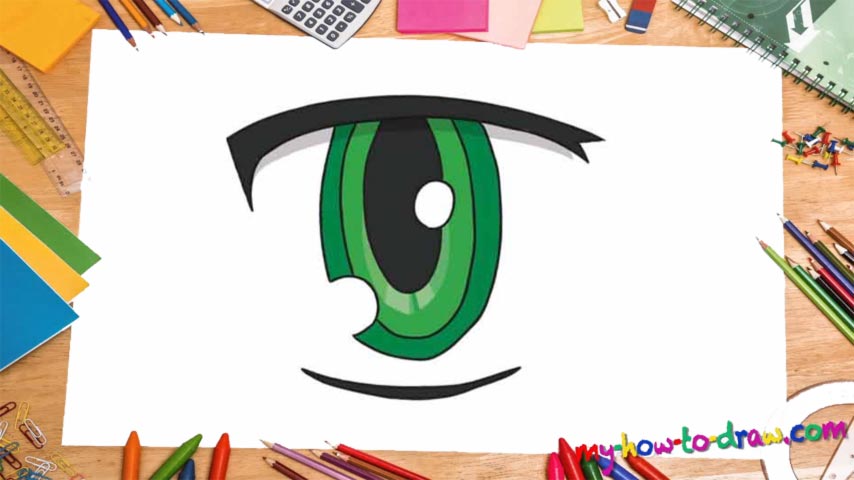
Why is that, exactly? Well, it will be a lot easier to get rid of them once you’re done with your painting. So, start by drawing a pretty tall oval shape (not a circle) that will be the cornerstone of our eye (00 min 23 sec). It doesn’t even have to be super-smooth because this is anime we’re talking about here.
Next, draw both the top and the bottom eyelids (00 min 30 sec). Remember: the top one needs to be much wider to give that anime vibe. Moving forward with our how to draw anime eyes tutorial we wanna say that both eyelids will be pretty easy to finish.
You probably won’t even need the video to do that. A couple of nice touches here and there and vuala (1 min 20 sec)! For the “crack”, go to the bottom left corner and draw a half-a-circle like the one you see in the tutorial (1 min 37 sec).
The “ovaly circle” in the middle of the composition is that fancy touch that you’ve been waiting for (1 min 53 sec). Finally, add the three main parts of the eye – three ovals that touch the upper eyelid. Again, nothing hard about that (2 min 15 sec).
Obviously, don’t forget to use a marker and erase all the initial strokes-guides. Color whichever way you see fit. And that’s about it for our how to draw anime eyes tutorial.
Before you learn how to draw Anime eyes, did you know?
Anime, along with manga, is a unique style that millions of folks appreciate around the globe. As for the eyes of the anime characters, they’re like the most recognizable part. If you want to learn how to draw anime eyes, you’ve come to the right place!
Thankfully, although they are quite impressive, they are not actually that difficult to draw (most of the time). The clean lines and the not-so-perfect shapes allow even us, the novices, to create some awesome pictures. In this video, you’ll see that you get the shape in just 3 strokes and the rest is a matter of adding details.