Learn How to draw An Open Rose Quickly & Easily!
Roses look fascinating, don’t they? Beautiful, full of grace and mystery, they’ve always played a big role in our fairytales, movies and theatrical performances, not to mention the real life. If you want to learn how to draw an open rose without any hassle, you’re more than welcome to check out our tutorial right here and right now.
By using light strokes, draw a rough sketch for our future masterpiece. Don’t rush it, but don’t spend too much time on it either. You can even go over certain lines and curves multiple times to get ’em right. Begin at the very center of the composition (00 min 39 sec). Draw a tiny oval in the middle; next, draw the bigger one that holds the first shape. The shape that looks like a heart comes next (01 min 03 sec).
The rest is simple and intuitive (01 min 15 sec). Just follow the video and finish the rough sketch. Ok, now let’s see what this how to draw an open rose tutorial is all about. Take care of the leaves in the middle first (02 min 04 sec). They are just a bunch of curvy shapes that go over the light-strokes guides we just did. There’s actually no point in describing every single curve because it’s all intuitive.
Once you’re done with the center, move on to the rest of this fine-looking rose. The further you go, the bigger the leaves get and the less busy they become (03 min 13 sec). So, just carefully go over the rough sketch and add more details. That’s actually it for our how to draw an open rose tutorial. The biggest leaves are the easiest ones, by the way (03 min 53 sec).
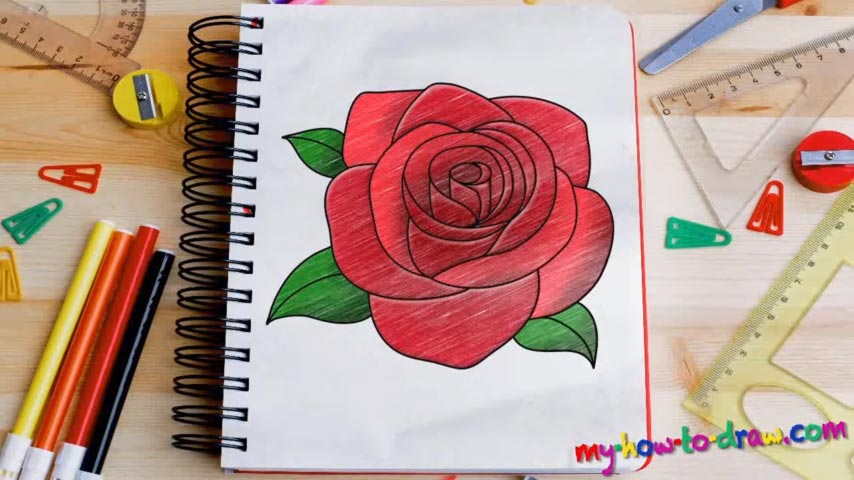
Obviously, you should go over your final drawing and erase all the light strokes (05 min 21 sec). After that, feel free to experiment with different combinations of red and green.
Before you learn how to draw An Open Rose, did you know?
The beauty of this particular drawing is that while it looks pretty awesome, it’s not that hard. Sometimes, you find yourself spending days and even weeks on a certain project only to realize at the end that it wasn’t even worth it. This is most definitely not the case!