Learn How To Draw An Apple (Kawaii Version) Quickly
If you’re in a hurry but still want to master a new drawing today, then you came to the right place. This how to draw an Apple (Kawaii Version) tutorial is 1 min, 35 sec long, and it’s quite amazing. For starters, we’ll need to put in the main body of the fruit (00 min 06 sec). It would be best to master this part in two steps. That means we’ll add the right side first.
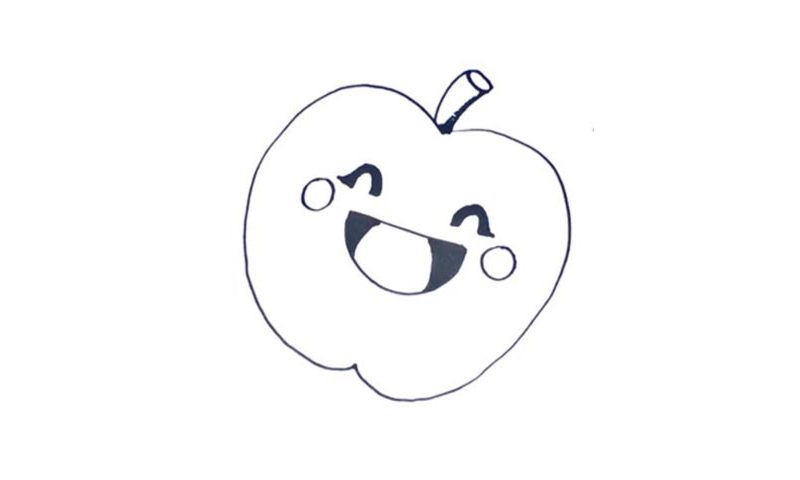
Once it’s in place, draw the identical left side (00 min 12 sec). The “tail” is the next step (00 min 16 sec). Create a tiny oval at the top and color the right corner black. Ok, the apple is ready, and it looks pretty good. But if you had a chance to check out the title of this lesson, then you know that the next step in this how to draw an Apple (Kawaii Version) tutorial are the facial features.
It’s got two eyes, a big mouth, and a set of dimples on both edges. The mouth comes first (00 min 36 sec). Draw the half-moon, and only then color the sides black. For the eyes, create two identical shapes that look like some ancient symbols (01 min 10 sec). The dimples are just small circles.
Before you learn how to draw An Apple (Kawaii Version), did you know?
This is one of the cheapest, most accessible and tastiest fruits on planet Earth. You can get it for almost nothing in Europe, America, and the rest of the world. There are numerous cultivars out there (more than 7,5K, if you can believe that), and they all taste differently!
You’ve got green, red and even yellow apples waiting for you at the stores, and some exotic varieties that are available in supermarkets that specialize in rare and unique fruits. And you must also know that Apple is one of the biggest and most influential tech companies in history: it’s responsible for the iPhone revolution.
