Learn How To Draw An Aeroplane Quickly & Easily!
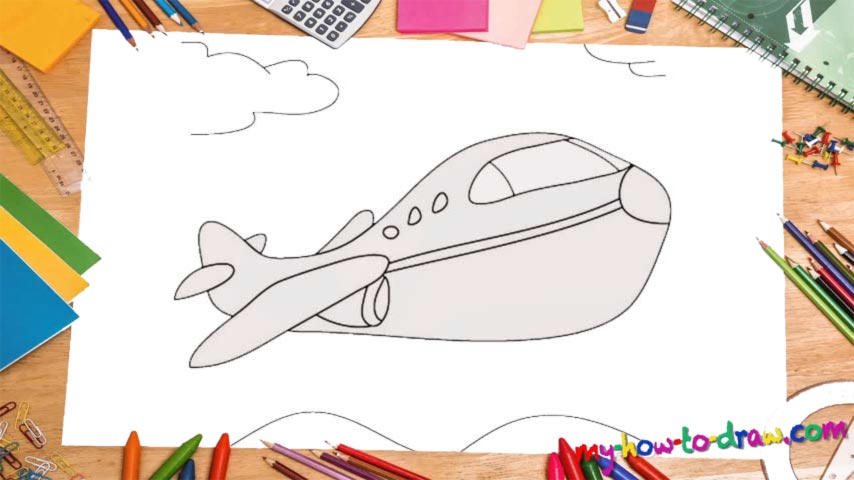
Let’s get right to it and use a big, round curvy line to outline our air vessel’s body (00 min 05 sec). If this proves to be a bit tricky for you, go ahead and break down the intro to the how to draw an Aeroplane tutorial into several parts. Once you’re done, add the wings on both sides of the plane (00 min 08 sec). The right wing looks like a boomerang; the left one is visible only partially because of the angle.
The smaller wings in the back follow (00 min 14 sec). They look pretty much the same, so, let’s just move on to the next part – the engine below the front wing. We bet you’ve seen this multiple times in the Hollywood movies: something gets in there and the plane loses power. If everything looks good, go to the top right corner and get to the next step in this how to draw an Aeroplane tutorial – the windows.
You’ve got three tiny circles in the middle and a huge window at the front (00 min 20 sec). And there’s a straight line stretching from one end to the other. To complete this fine drawing, add two simple clouds at the top and two curvy lines at the bottom – for the mountains (00 min 27 sec).
Before you learn how to draw An Aeroplane, did you know?
There are many variations of these flying vessels, and the first successful take-off happened in 1903, almost 115 years ago. These days, aeroplanes are being used for many purposes, including transportation, recreation, and, of course, military needs.
Every day, hundreds of thousands of people use planes to get to their destinations, and the industry is only growing bigger and more reliable. In 1958, the American company, Boeing, released its legendary 707 model that had been in service for 50 years!