Learn How To Draw A Volcano Quickly
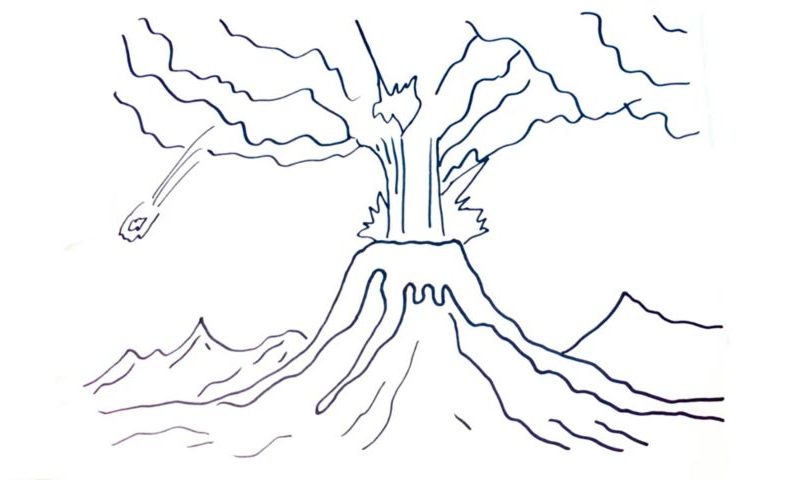
The mountain comes first (00 min 05 sec). Begin in the left corner and slowly move to the right side. The lava coming out of the middle is the next step of this how to draw a Volcano tutorial (00 min 20 sec). Basically, you’ll need a series of curvy lines to imitate the rivers of hot stones coming down from the mountain.
Don’t try to make them look exactly like what you see in the video. Go for what’s in your head: that way, it will be more realistic. Ok, now we get to the most exciting part – the all-consuming mix of lava, ashes, and smoke (00 min 56 sec). It actually looks a lot like the rivers on the majestic mountain in reverse.
See that huge stone coming down from the air (01 min 53 sec)? It’s the next stage in this how to draw a Volcano tutorial. The much smaller mountains on both sides of the paper will complete this lesson (02 min 00 sec). Alright, we’re done! If you want, add even more details.
Before you learn how to draw A Volcano, did you know?
Have you ever seen a real volcano in action? The sounds it makes are truly frightening, not to mention the smoke, the ash, and the lava that come out of a magma chamber. Sometimes, the plumes reach 15-20 kilometers in height and touch the clouds. According to the scientists, volcanos are possible because of the tectonic plates (17 in total) that constantly move around deep under the ground.
The ash that originates in the craters can be a nightmare for jet engines of the modern-day planes. The lava burns down entire villages, and the only escape is running. Besides, the phenomenon known as a volcanic winter can lead to famines of catastrophic proportions. That’s exactly why it’s so important to study this natural disaster – to fight it successfully.
