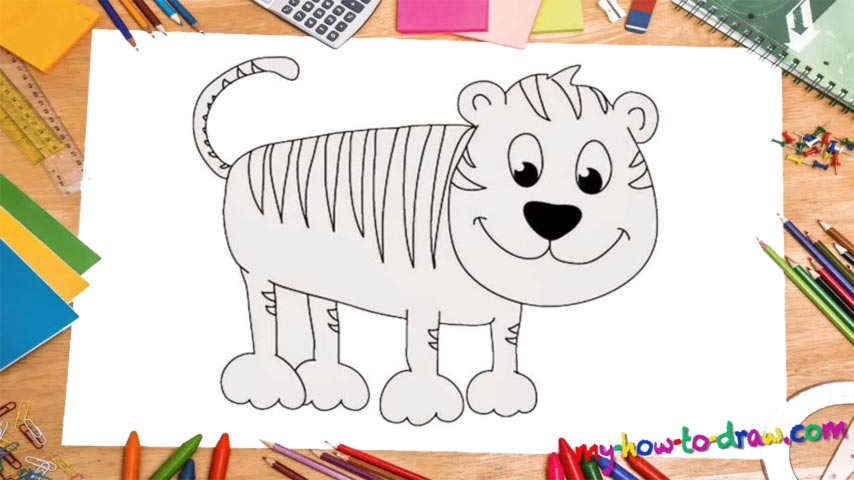
Learn How To Draw A Tiger Quickly & Easily!
What do you say we start this video with the big, black nose that looks like a heart (00 min 04 sec)? It will become the center of this drawing and give us some perspective on the entire how to draw a Tiger tutorial. The mouth, which looks like a “W” and is connected to the nose, comes next (00 min 08 sec). The eyes are located right above the nose and look like two ovals – nothing fancy about them.
The pupils are quite realistic, though. Those identical C-like curves are there for the ears (00 min 20 sec). If you’re happy with the result so far, let us take care of the head (00 min 23 sec). It’s an oval shape, much like an egg, but comes with a “twist” on top. Moving on to the body, make sure that curvy line is of the right length – that’s important (00 min 28 sec).
The next stage of this how to draw a Tiger tutorial, the tail, looks like a question mark. The legs all look the same, while the feet (also identical) look like tiny clouds of some sorts (00 min 43 sec). Go back to the tail and turn it into a C-like line to finish it. See those stripes all over the body (00 min 50 sec)? That’s the last part of this video guide.
Before you learn how to draw A Tiger, did you know?
Fast, agile, and extremely dangerous, tigers have no mercy and won’t hesitate to kill you with one deadly attack. This is the largest cat species known to man and is one of the most beautiful creatures on planet Earth. As apex predators, tigers are on top of the food chain.
Back in the day, they used to be all over the European region and posed a great threat to mankind’s survival. However, over the last century, tigers have successfully lost more than 90% of their range, which means they have very little territory to in hunt now.