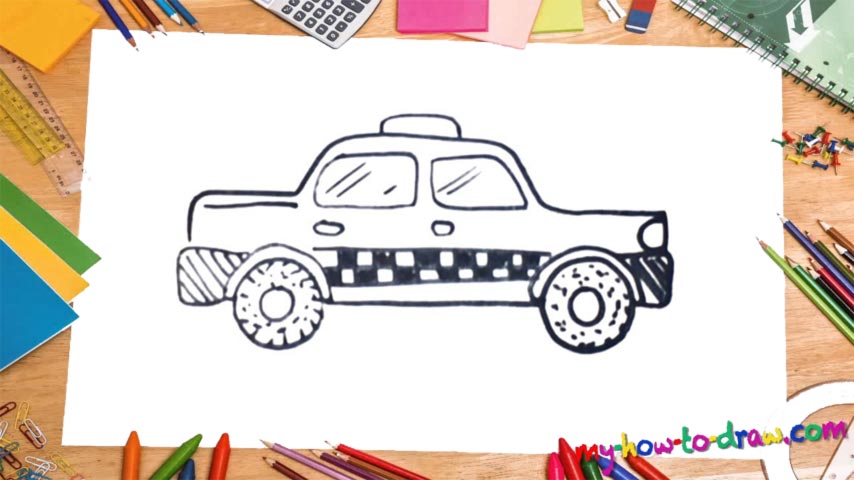
Learn How To Draw A Taxi Car Quickly
To make things easier and to put this drawing in perspective, I suggest we begin with the top of the cab (00 min 07 sec). It’s a very basic shape that fits the majority of cars made by the leading companies. Once it’s in place, go ahead and add the front light (00 min 18 sec). The next step of this how to draw a Taxi Car tutorial includes the bumper and the tire.
There’s nothing fancy there: you’ll need two simple circles for the tire and a series of dots inside the wheel. If you’re happy with things so far, go ahead and draw the line that connects the tires to each other (00 min 47 sec). Ok, now it’s time for the left tire. It’s identical to the one on the right, which means you can just copy it.
The rear bumper is a bit longer than the front bumper, but is, overall, the same. The windows and the handles are the next steps in this how to draw a Taxi Car tutorial (01 min 17 sec). After they’re in, add a simple curve on top of the roof (01 min 31 sec). The last thing on the menu is, of course, that trademark pattern/texture on the side of the car (01 min 35 sec). Ok, that’s it for this video!
Before you learn how to draw A Taxi Car, did you know?
About 150 years ago, we didn’t have cars, and horses used to be our taxis. These days, there are numerous private entrepreneurs that provide transportation at a fair price. In the big cities, you won’t get far without a vehicle. Plus, taxi drivers know the “secret routes” and can take you there faster and save you some nerves.
And while the classic British cabs are considered to be iconic for many reasons, they are a bit outdated, to be fair. Thankfully, there are many other companies and brands that you can use. Because of the stiff competition, the prices are low and the service is great.

