Learn How To Draw A Stork Quickly
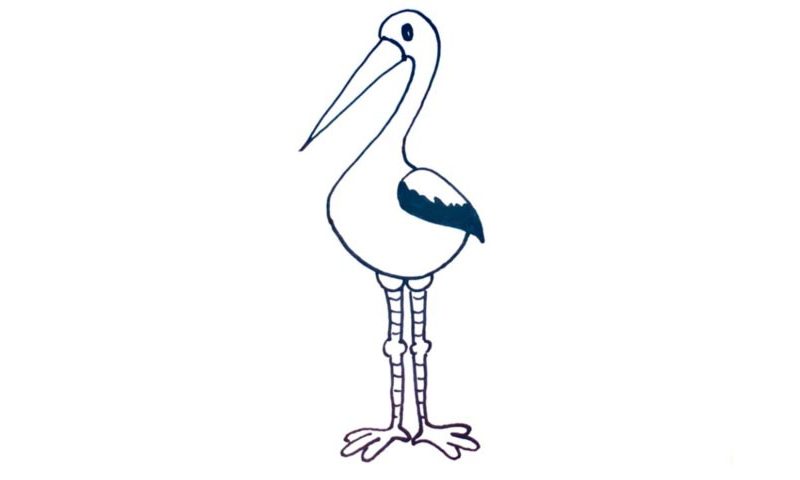
Obviously, the cool beak comes first (00 min 07 sec). Use straight lines for it. To cover the head and most of the long neck, we’ll need two curves (00 min 18 sec). The eye sits right in the middle of the head (00 min 30 sec). Color it black but leave a tiny white dot in the center. Ok, now let’s take care of the bottom of the body (00 min 40 sec).
For this part of the how to draw a Stork tutorial, we’ll also use a curvy line. The wing covers the lower right half. See that zigzag-like line that divides it into two halves (00 min 52 sec)? Color the bottom half black. The legs follow (01 min 25 sec). They are as tall as the rest of the body and are pretty much identical to each other.
For this stage of the how to draw a Stork tutorial, you’ll need straight vertical lines with circles in the middle for the knees and three fingers in the lower corner (01 min 45 sec). As for the “texture”, I’ve added a series of simple horizontal lines to emulate the real thing (02 min 06 sec).
Before you learn how to draw A Stork, did you know?
Tall, elegant, and majestic, the storks look like the royal family in the world of birds. They are like the aristocrats from our society. Long-legged, large, and with strong wings, these creatures are very photogenic and represent the essence of being wild and free. Storks usually live in dry areas around the globe. There are 19 species known to mankind.
So, what about the diet – what do storks eat? Everything from tiny mammals to insects. The list includes frogs, fish, and even birds (the smaller breeds). By the way, did you know that the average stork weighs 7-8 kilograms? That’s actually a lot. Another fun fact: the marabou stork has one of the widest wingspans among the living species of birds.
