Learn How To Draw A Star Quickly & Easily!
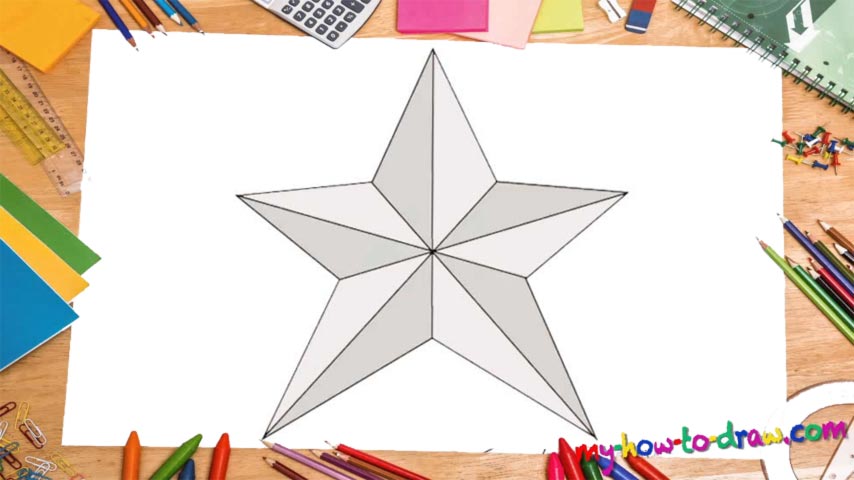
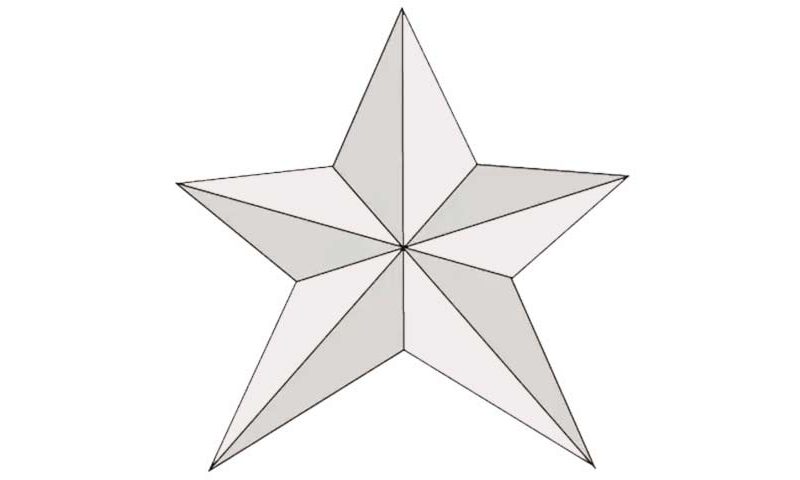
This is one of those tutorials that have no curves at all and require 100%-accurate lines. If you fail to do that, your end result will never be the same as mine. Thankfully, it’s not that hard to learn how to draw a Star correctly. Begin with an “X” in the middle (00 min 04 sec). Please pay attention to the fact that the lower half is significantly larger than the upper half.
Next, add two sets of opposing lines right where the X lines cross (00 min 08 sec). Then, you’ll need a straight vertical line in the middle of the composition. Ok, we’re no officially done with the inner part of this drawing. Now it’s time to take care of the outer part (00 min 12 sec). All that’s left to do is add a series of identical lines to shape the “limbs” of the star.
This is the easiest and the most entertaining part of this how to draw a Star tutorial. The most important thing here is to keep the proportions right. For example, the “legs” of our star are a bit longer than the rest of the corners (00 min 23 sec). Once you complete this stage, you’ll be done with this lovely tutorial. It’s one of those “techy” drawings that need precision; so, take your time and don’t be afraid to go over certain elements over and over again.
Before you learn how to draw A Star, did you know?
There’s nothing special about this star except for the simple technique that helps you create the illusion of a 3D object. It’s very primitive and is pretty high on the list of the easiest tutorials on our website. But it is a bit tricky, though. As for the star as an object, it has a very important place in the history of mankind.
The humans have been using it as a symbol of hope, victory, togetherness, and many other things. The Soviets used it as a sign of an unbreakable bond between the various republics. Stars play a vital role in the movie industry, the space programs, and the Christmas tree.