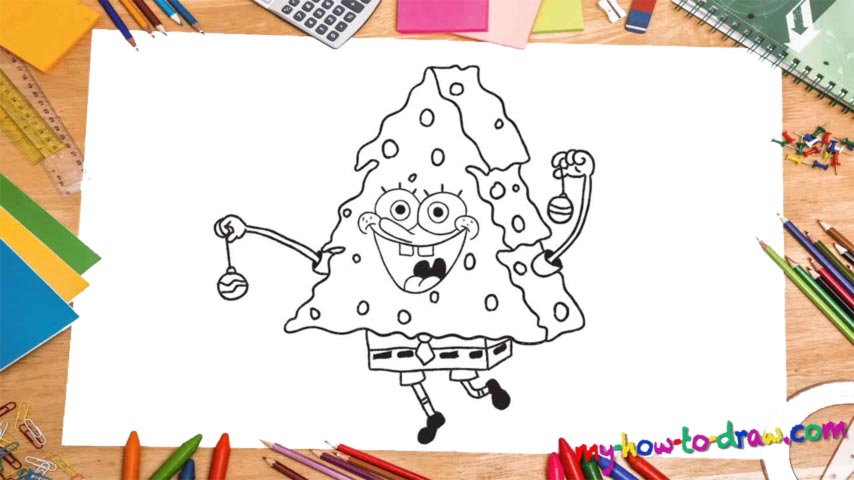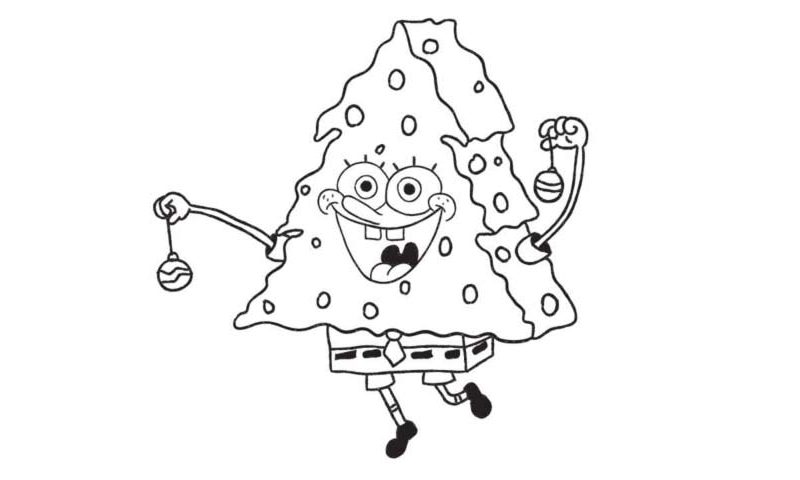
Learn How to Draw A SpongeBob Christmas Tree Quickly & Easily!
This adorable guy has conquered the hearts and minds of countless people around the world. And that is exactly why in this post we’ll learn how to draw a SpongeBob Christmas tree. We won’t use any guidelines and get right to business. Begin with his nose (00 min 12 sec). The mouth comes first. Use two curves and add two teeth right below the upper curve (00 min 47 sec). The tongue comes next (01 min 11 sec).
The eyes are located super-close to the mouth and to each other – they actually overlap one another (01 min 18 sec). Essentially, every eye is just a combination of one big and two tinier circles. Paint the pupils after you’re done and move on to the head (02 min 06 sec). Now, because this is the how to draw a SpongeBob Christmas tree manual, we gotta make this nice fella look accordingly.
If you follow the video and do everything exactly like I did, you’ll be done with the body in no time and get right to the hands (03 min 18 sec). The right hand is holding an ornament, but you can put whatever you want in it (05 min 12 sec). The right one is also “equipped” with an ornament (06 min 72 sec). If you’re happy with the upper part, move on to the rest of the body and the legs.
Please keep in mind that this is a cartoon character and the proportions don’t have to be right. The legs are super-tiny, but they look adorable (07 min 54 sec). That’s actually it for our how to draw a SpongeBob Christmas tree tutorial. If you want, go ahead and add those dots all over his body. And, paint some parts black to make the drawing look more realistic.
Before you learn how to draw A SpongeBob Christmas Tree, did you know?
Here it is! The one you’ve been waiting for… Learn how to draw SpongeBob Squarepants right here right now. This hilarious little yellow sea sponge is not so difficult once you get the hang of it. We bet you’ll feel great after you master the art of drawing Mr. SpongeBob.
As you can see, the key is in being patient and following the guidelines in the video tutorial. Don’t freak out if you can’t get it right the first time around. Finesse your skills and show the drawing to your loved ones only if you’re really proud of it.