Learn How To Draw A Simple Car Quickly & Easily
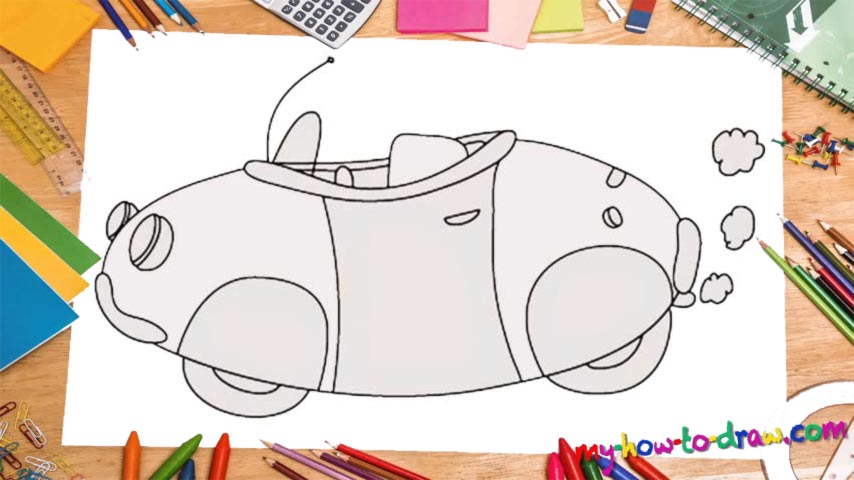
We begin with a super-long horizontal curve at the bottom of the drawing and the metal parts for the front and rear bumpers (00 min 05 sec). Moving up with the how to draw a Simple car tutorial, follow my lead and keep adding more details. By adding the tires at the very bottom of the paper, we’ll turn this bunch of lines into a realistic vehicle.
And once the cabin is in, go ahead and connect it all into a cohesive image. Basically, we’re done with this composition. All that’s left to do is work on the details and make sure our car looks amazing. The handle on the door, the steering wheel, and the driver’s seat are a piece of cake (00 min 20 sec). Those cute front lights come next in this how to draw a Simple Car tutorial (00 min 25 sec).
They’ve got that retro vibe, don’t they? The windshield and the antenna follow. The lights aren’t done yet: add the final strokes – two C-like curves to finish them off (00 min 33 sec). All good? Ok, it’s time to draw the final part – those clouds of smoke coming out of the exhaust tip (00 min 40 sec). Now we’re officially done!
Before you learn how to draw A Simple Car, did you know?
This tutorial is dedicated to a simple image of a retro car. It looks like it ran away from a popular cartoon series and ended up on our piece of paper. With those classic tires and front light, this vehicle is quite adorable, especially if you’re a fan of vintage things.
In this video guide, we’ll learn the basics of drawing a car. And while it’s not that sophisticated and will be relatively easy to “crack”, the things that you learn today will be invaluable in the future. So, grab your favorite pencil and let’s get to drawing!