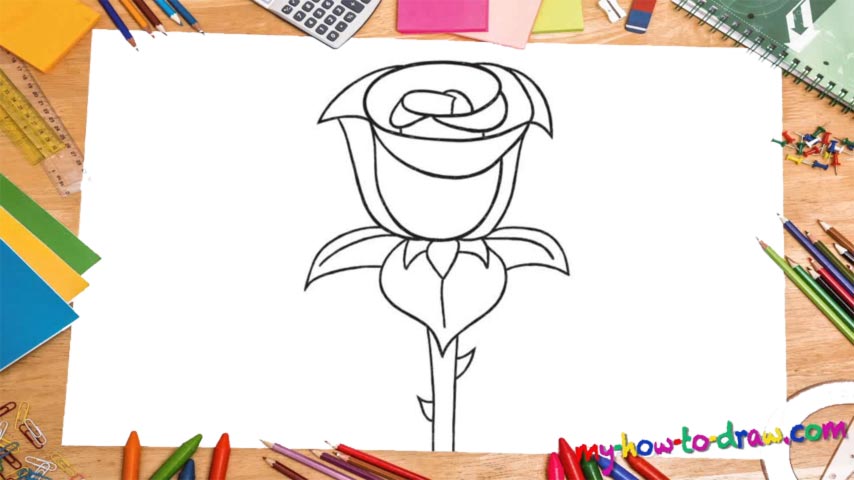
Learn How to draw A Rose On A Stem Quickly & Easily!
You can’t ever go wrong with a rose – that’s for sure. And, you can install it in pretty much every composition and it will still look great. If you want to learn how to draw a rose on a stem, check out our tutorial. We’ll start at the very top (00 min 16 sec). Create a curvy line that looks a lot like the infinity sign. As we always like to say, it doesn’t have to be perfect – solid is good enough. Besides, you can always go back and fix something you don’t like.
Inside, you’ll have to add some lines to make it look like the top of an actual rose. Once you’re done with that, surround it with a number of curves – the leaves (01 min 10 sec). The two spiky curves on both sides of the rose will make it look even more beautiful (01 min 23 sec). You can experiment with the position and the size but please keep in mind that this is, most likely, the best mix.
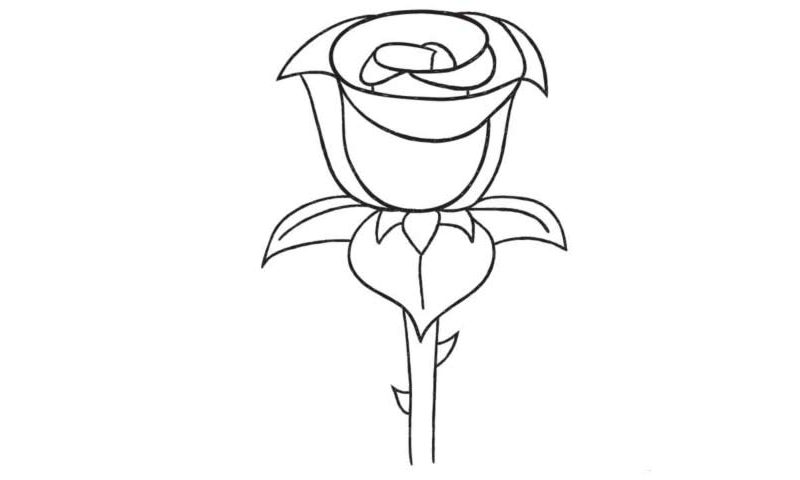
See that combination of lines and curves that looks like some sort of a bowtie (02 min 05 sec)? It will allow you to move forward with this how to draw a rose on a stem guide. Once it’s in place, add two identical shapes that almost look like a question mark (02 min 55 sec). Two mighty leaves on both sides come next (03 min 15 sec).
The final step is to draw the stem itself (04 min 05 sec). Nothing to it: just make two straight lines and go all the way to the bottom. That’s it for our how to draw a rose on a stem tutorial. If you’ve got a girl you like, this beautiful drawing might just help you win both her heart and mind :). Don’t be afraid to put some additional strokes on the rose – that way, you’ll make it truly special!
Before you learn how to draw A Rose On A Stem, did you know?
Show that special someone how much you care by drawing a beautiful rose as a heartwarming gift. The rose is very symbolic and mostly symbolizes beautiful things like friendship, devotion, love, care, and exciting emotions.
Now go ahead and learn how to draw a rose for yourself by following the simple steps in this video. We’re proud to say that this is one of the best guides you’ll find out there. Practice as much as you like and deliver a breath-taking rose for the world to see!