Learn How to draw A Rose Quickly & Easily!
As you could probably have already guessed, there are no straight lines in this tutorial – only curvy ones. Well, we are going to learn how to draw a Rose, and, because the stem is not included in the drawing, that shouldn’t come to you as a surprise. It’s actually quite a sophisticated composition, and usually, we use a rough sketch as a guide.
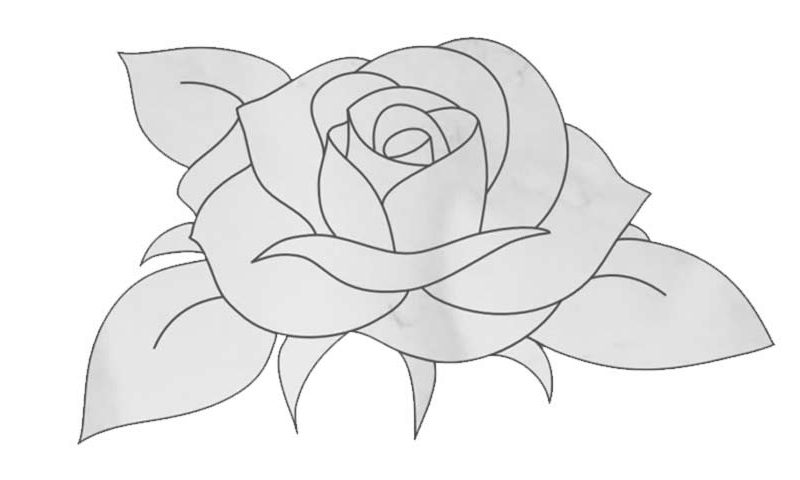
However, this time around, we’ll try to get everything right without it. Ok, start in the middle of the paper and create our first petal (00 min 27 sec). Next, add two vertical petals that are different in size but almost the same in shape (00 min 40 sec). It’s actually a lot easier to follow the guide and use your own imagination to draw the rest than to read about it here. So, watch the video closely and bring this home.
Once you’re done with the center of the drawing, move on to the next stage of this how to draw a Rose tutorial – the much bigger petals (01 min 24 sec). You’ll need two perfectly round curves on top of each other on the right and a perkier one on the left. If everything looks good, add the leaves at the very bottom of the paper and finish this tutorial (02 min 07 sec).
Before you learn how to draw A Rose, did you know?
Men give roses to their beloved women to put a smile on their faces. Serial killers leave roses by the victims to show the detectives they’re always one step behind. In the ancient times, the healers used these flowers to heal the most lethal diseases.
These days, we like to grow them in our gardens (to have some time to ourselves and to relax). Other folks put roses inside beautiful vases and turn their otherwise boring rooms into something much more exciting. Why do you like roses?

Learn HOW TO DRAW WADDLES from Gravity Falls in less than 5 minutes! In this step-by-step video lesson, you will learn how to draw it QUICKLY and EASY